

Atmosphere
Select the atmosphere child when you want to change the glow around the planet. The body supplies the opaque silhouette, and the shell adds light along the visible path through the atmosphere. Opaque objects in front of the shell can also limit the visible glow.
Shape the rim
Section titled “Shape the rim”- Start with
Planet_Terrestrial_01from the Quick Start. CheckAtmosphere_Terrestrial_01in the Hierarchy and duplicate its material into the same renderer slot. - Keep the body and shell scales and the preset values for Planet Radius, Atmosphere Radius and Global Scale. For this shell, the authored radii are
395.9and525.7. - Keep Use Point Light off and use one Directional Light. Rotate the light until the illuminated edge is visible from the camera.
- Adjust Ray for the broad colored limb and Mie for the glow concentrated toward the light. Try a small change to light_intensity if the entire glow needs to be dimmer or brighter.
- Compare density_multiplier at fixed Exposure. It changes the depth and attenuation of the glow as well as its brightness. Return to the preset if the limb loses the shape you wanted.
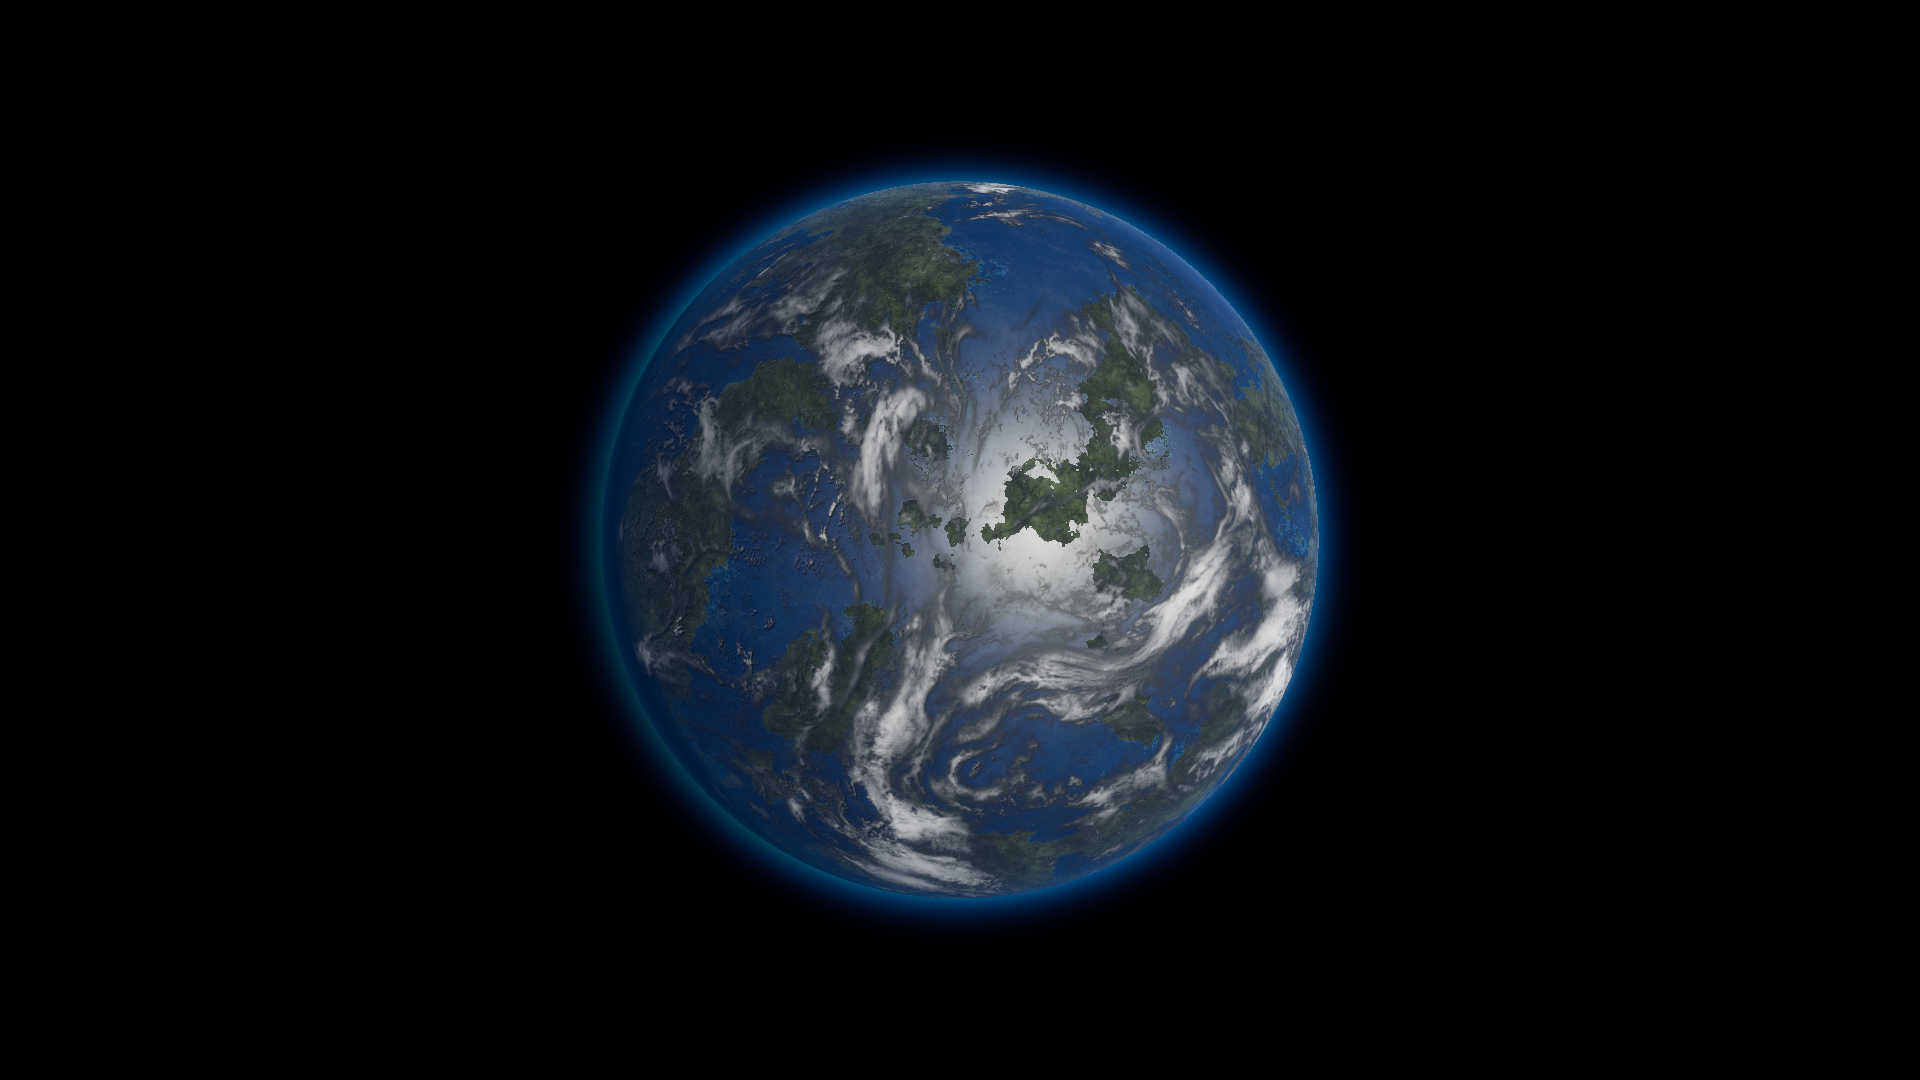
Before · density_multiplier 999.
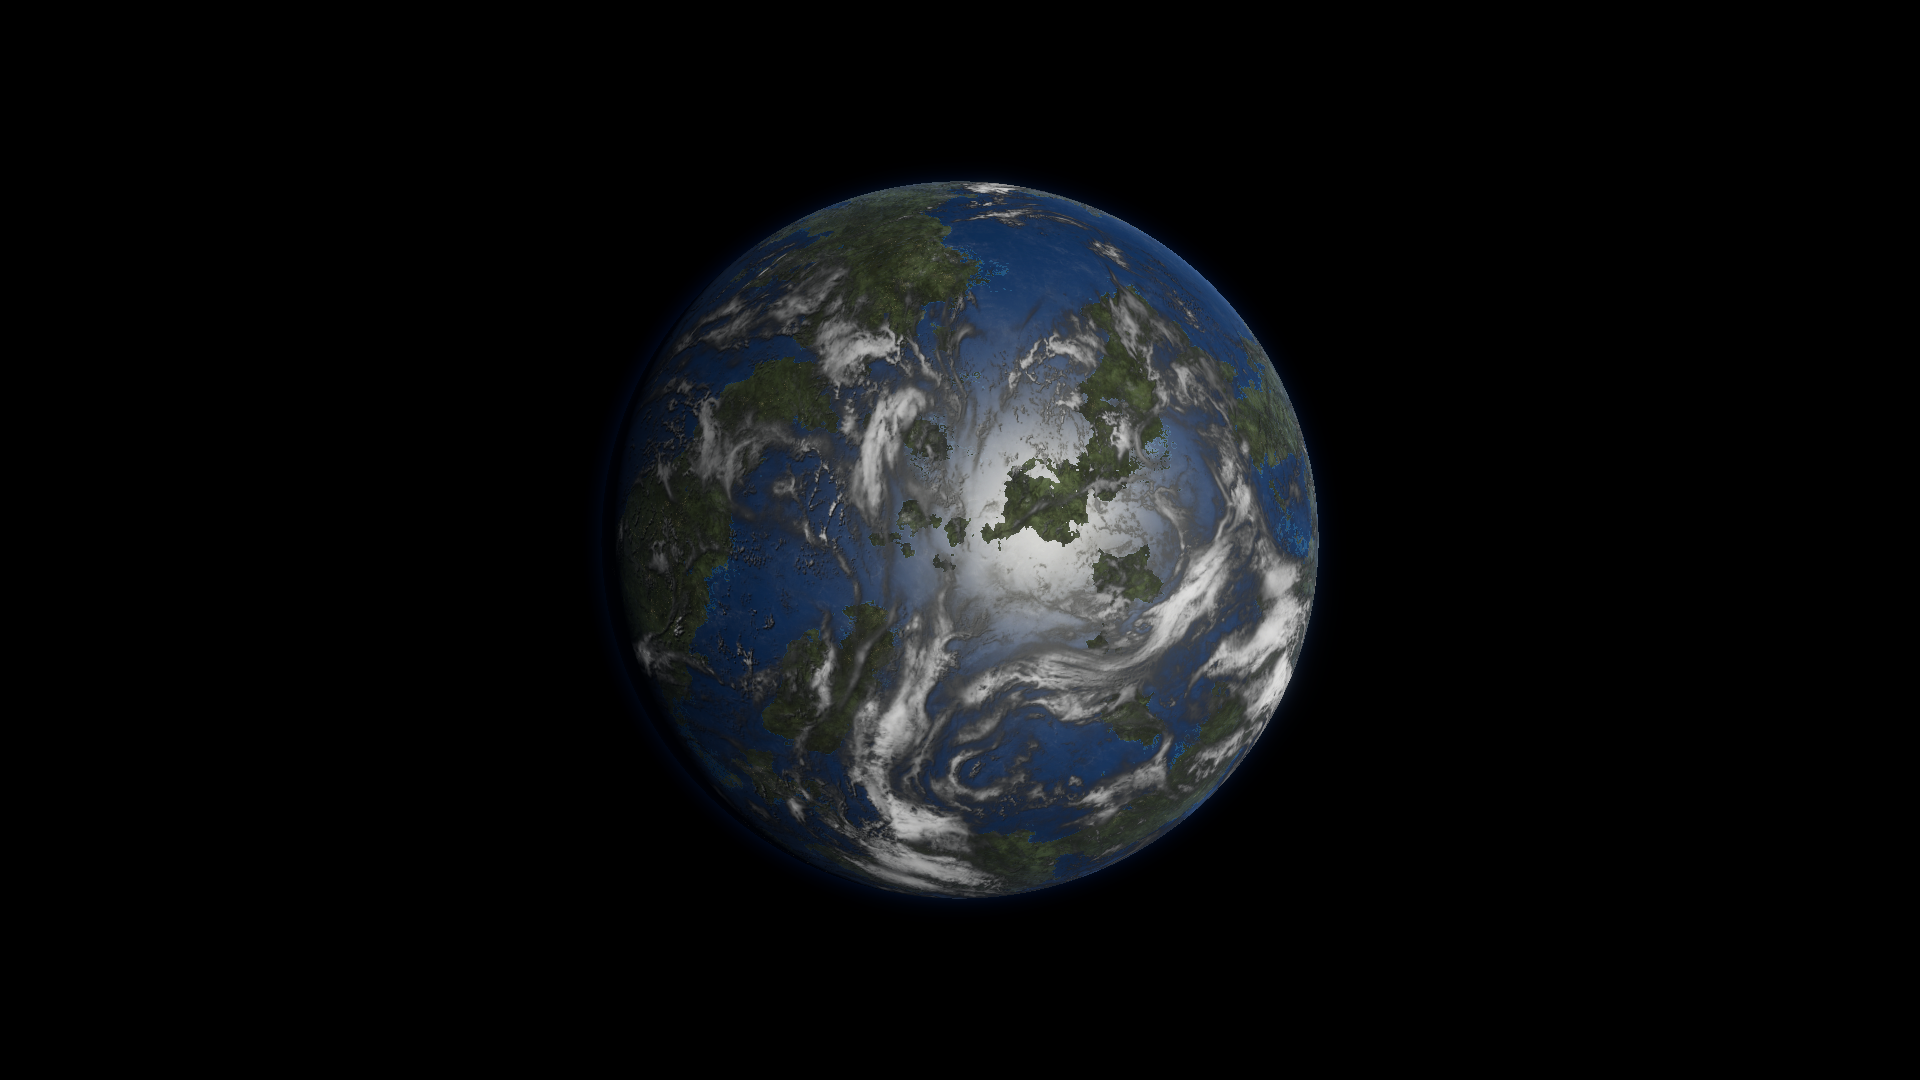
After · density_multiplier 80. The light and exposure stay fixed.
Keep the shell and camera in agreement
Section titled “Keep the shell and camera in agreement”Changing the mesh scale alone can change how the shell lines up with the material radii and the body’s depth. Frame the shot with camera distance and field of view first. If you need a custom scale, treat the body, shell, material radii and camera clipping distances as a set. Compare both a full-disc view and a grazing view.
For a missing or flickering rim, restore the original mesh, material and camera framing, then check the clipping and lighting checklist. See Atmosphere shader settings for quality controls and the optional Point Light setup.