

Sun and Corona
Place Sun_Red from Assets/FORGE3D/Planets HDRP/Prefabs. Keep the star’s scale and children intact. Use a perspective camera far enough away to see the limb, with a far clip plane that includes the star and its outer layers.
Choose the layer
Section titled “Choose the layer”| Layer | Renderer | Supplied material |
|---|---|---|
| Photosphere | Root Sun_Red | Sun/Materials/Sun_Red_01.mat |
| Corona | StarCoronaPlate children | Sun/Materials/Sun_Corona_Red_01.mat |
| Atmospheric glow | Atmosphere_Sun_Red and Atmosphere_Sun_Red_Dense | Atmosphere/Atmosphere_sun_red.mat and Atmosphere/Atmosphere_Sun_Red_Dense_Sharp.mat |
Balance the core and limb
Section titled “Balance the core and limb”- Use fixed Exposure while editing. If the core is solid white, raise EV100 until texture detail is visible. Check Bloom separately.
- Duplicate the photosphere material. Adjust Cool, Warm and Hot for the HDR palette, preserving each swatch’s alpha unless you intend to change its contribution. Use Boost to set the overall strength and Surface Mult to tune the surface contribution.
- Duplicate the corona material and assign that copy to the matching plates. Adjust Corona Color for hue and Corona Boost for the visible mask contribution. Keep the plate transforms, blend settings and Depth Fade from the preset.
- If the outer glow needs a different hue, edit the appropriate atmosphere material separately. Work on one shell at a time.
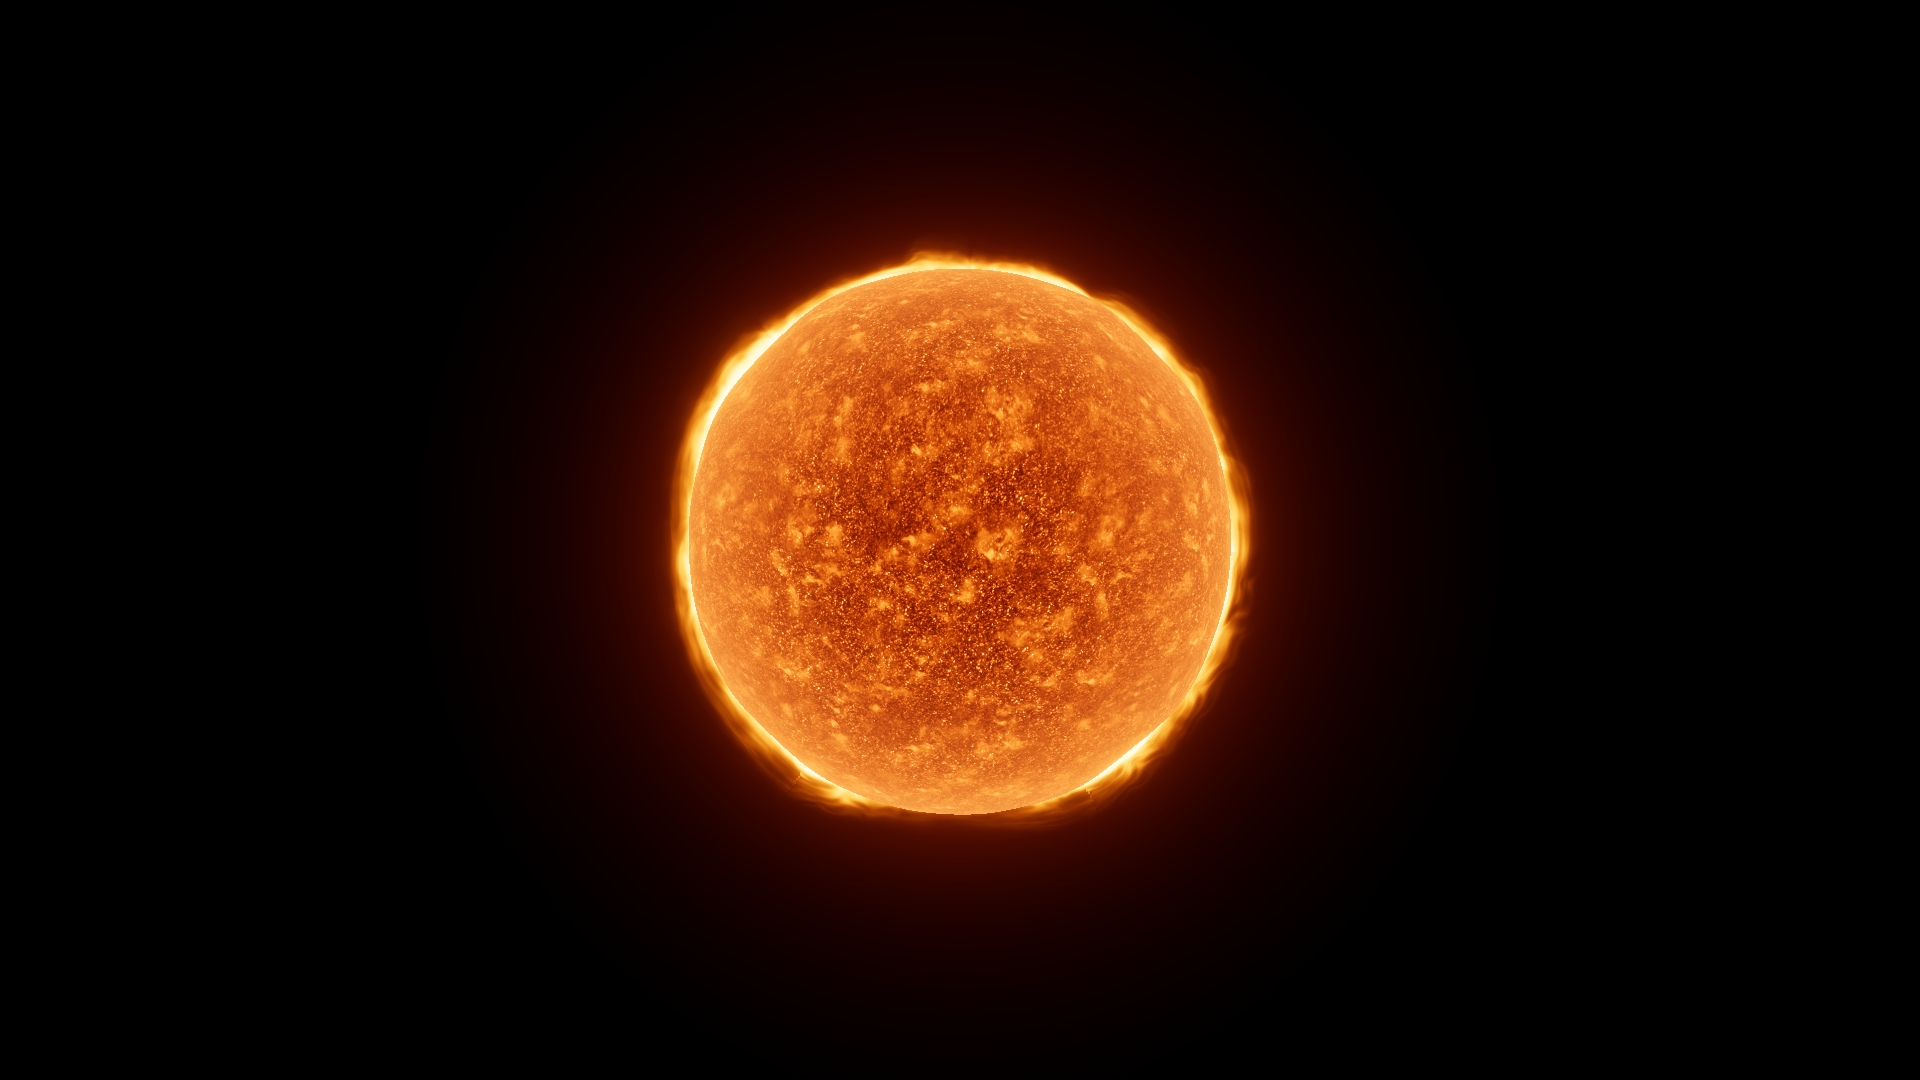
Sun_Red with the supplied corona material at Corona Boost 49.69.
Light neighboring bodies
Section titled “Light neighboring bodies”A bright Sun mesh makes the star visible in the camera. Add an HDRP Directional Light for planet-scale illumination, or a Point Light with enough range to reach the objects in your composition. Adjust its color and intensity in the Light Inspector. For a lens flare like those in the demos, use a separate Lens Flare (SRP) component and a flare asset.
See Sun, Sun Corona and Sun Ring for the material settings.