

Planet surfaces
Use a copy of the body material and keep the original maps assigned. Set the light and a fixed Exposure before you edit. Turn the planet or camera until the terrain and a highlight are both visible.
Build a palette
Section titled “Build a palette”| For this world | Start with | What to look for |
|---|---|---|
| Terrestrial | Water Deep Color, Vegetation Color, Desert Color | Contrast between oceans and continents |
| Oceanic | Water Deep Color and Water Shallow Color | A readable range of colors across the water |
| Moon | Tint | A warm or cool cast on lit craters |
| Gas | Tint, then Pole Color and Pole Boost | Color separation between bands and poles |
| Sand | Desert Color and Mountain Color | Clear separation between lowlands and highlands |
| Ice | RampLow, RampMid, RampHigh | A range of ice colors across the height detail |
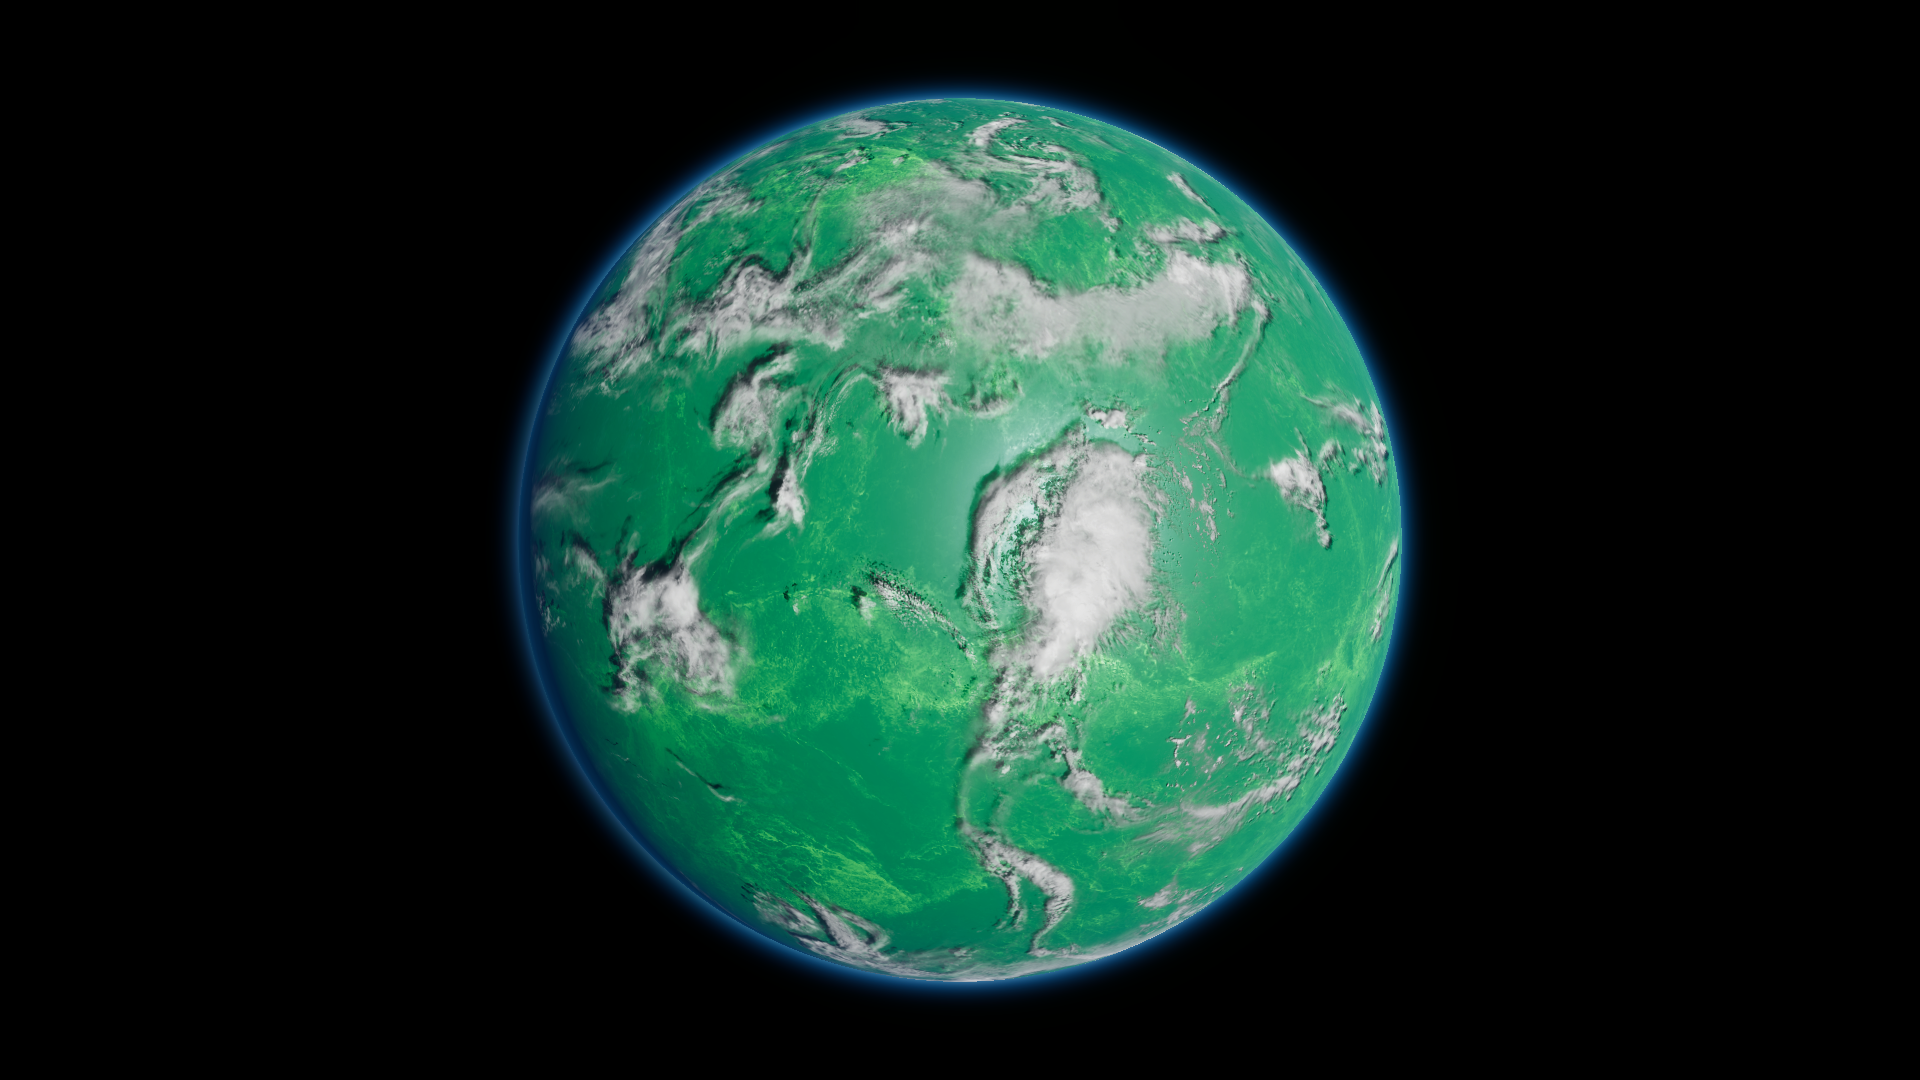
Oceanic 01 with Water Deep Color set to RGB (0.04, 0.35, 0.22). The preset cloud maps remain assigned.
Tune detail and gloss
Section titled “Tune detail and gloss”- Inspect the surface at the distance you intend to use. Raise Normal Scale on a material that has it to emphasize texture relief. The silhouette comes from the mesh.
- Use the material’s texture tiling controls to change the size of repeated detail. Triplanar mapping blends three directions around the sphere. Judge seams and fine patterns from more than one angle.
- Move the light or camera until you see a highlight. Compare Smoothness at the same light angle. Higher smoothness tends to tighten a highlight where the material’s masks allow it. Use Specular or the shader’s water or land equivalent to change highlight strength.
- For surfaces with Fresnel controls, use a grazing angle to judge the color near the edge. To change the actual glow beyond the body, edit the Atmosphere shell.
For your own texture set, follow the channel reference. Use the Shader Reference for the exact settings available on each world.