

Ring Transparent
Create translucent bands with a light-directed planet shadow.
Visual example
Section titled “Visual example”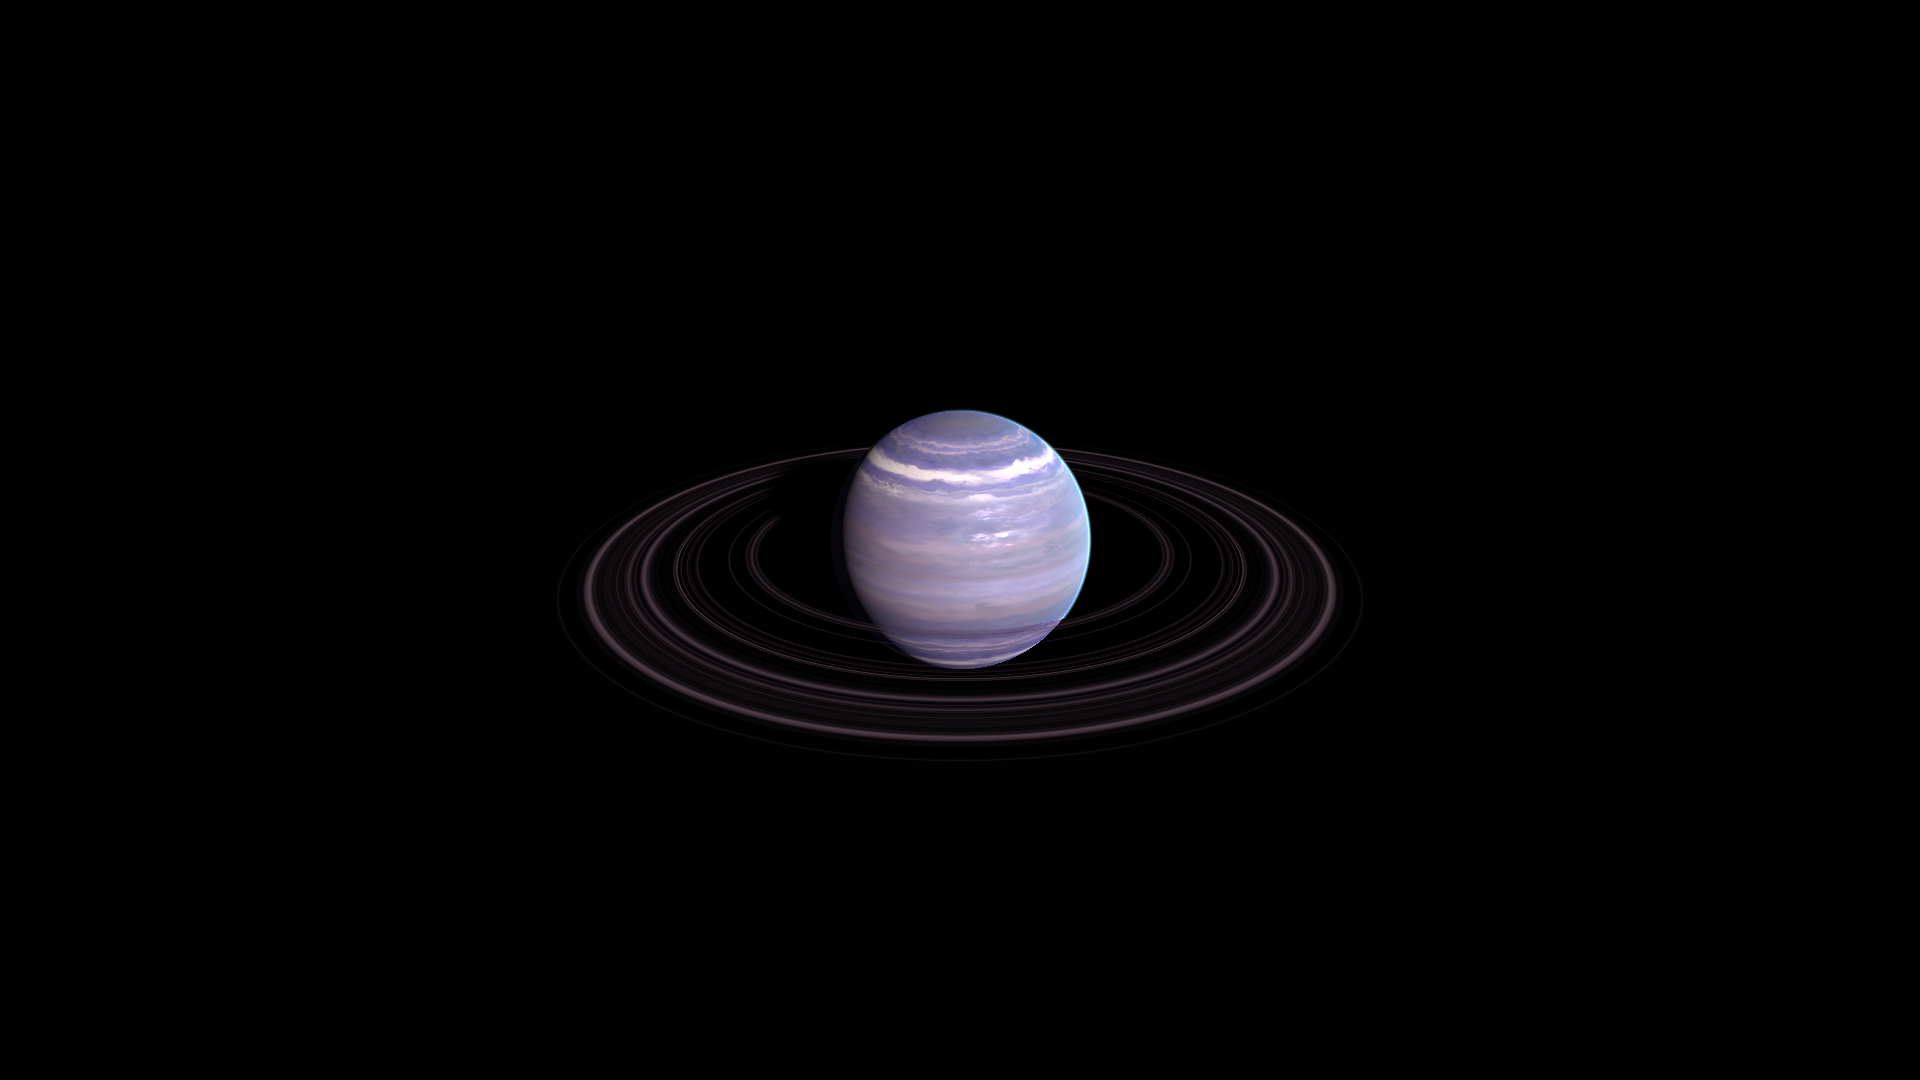
Where to find it
Section titled “Where to find it”Shader menu: FORGE3D/Planets HD/Ring Transparent. Start with Assets/FORGE3D/Planets/Gas/Planet_Gas_01.prefab.
Material: Assets/FORGE3D/Planets/Gas/Materials/Planet_Ring_Gas_01.mat. Select the relevant Mesh Renderer > Materials slot, duplicate that material into your own folder, and assign the copy before editing. See material ownership.
Main settings
Section titled “Main settings”Opacity uses Detail Map red × Ring Tint alpha, not texture alpha. Clip scales a red-channel clipping threshold: with tint alpha = 1, Clip = 1 is an equality case and can look unchanged; Clip = 2 removes the positive samples in the comparison. This transparent shader writes depth, so inspect overlap with atmosphere and other transparent objects from the final camera. Its planet shadow is an artistic main-light approximation, controlled by Shadow Vertex and Shadow Penumbra.
Surface and effect shape
Section titled “Surface and effect shape”| Inspector setting | Property ID | Use and visual effect |
|---|---|---|
| Detail Map | _DetailMap | Fine surface pattern and masks. Its channel use depends on the shader; retain the supplied map while tuning the material. |
| Ring Tint | _RingTint | Multiplies ring color. On Ring Transparent, alpha also scales opacity from Detail Map red. |
| Ring Size | _RingSize | Outer endpoint of radial texture mapping in object space. Redistributes bands; it does not resize the ring mesh. |
| Ring Offset | _RingOffset | Inner endpoint offset for radial texture mapping. Keep Ring Size different from Ring Offset + 1. |
| Shadow Vertex | _ShadowVertex | Scale used for the transparent ring’s analytic planet-shadow calculation. Tune when fitting the shadow to the planet. |
| Shadow Penumbra | _ShadowPenumbra | Width of the transparent ring’s planet-shadow transition. Increase for a softer shadow boundary. |
| Clip | _Clip | Alpha-test control. Its meaning differs between Ring Shadow and Ring Transparent; follow the shader-specific note below. |
Lighting and rim
Section titled “Lighting and rim”| Inspector setting | Property ID | Use and visual effect |
|---|---|---|
| Specular | _Specular | Feeds the metallic response despite the Specular label. Tune with Smoothness and scene reflections. |
| Smoothness | _Smoothness | Surface highlight smoothness. Higher values generally concentrate reflections; texture and cloud masks can reduce the effect. |
Advanced settings
Section titled “Advanced settings”Keep clipping, tint opacity and shadow softness as separate adjustments. Test Clip only after choosing Ring Tint alpha, because both participate in the alpha comparison. Specular feeds metallic response in this shader despite its Inspector label. For mapping and rendering details, see Technical reference.
Practical example
Section titled “Practical example”On a duplicated gas ring material, compare Ring Tint alpha = 1 and 0.25 while retaining RGB (0.551, 0.503, 0.679). Keep Clip at the preset value for this opacity comparison, then adjust Shadow Penumbra under the intended Directional Light.
Setting comparisons
Section titled “Setting comparisons”These examples keep the camera, light and other material settings fixed within each pair. Before appears first and After second. Values describe these examples, rather than a required range.
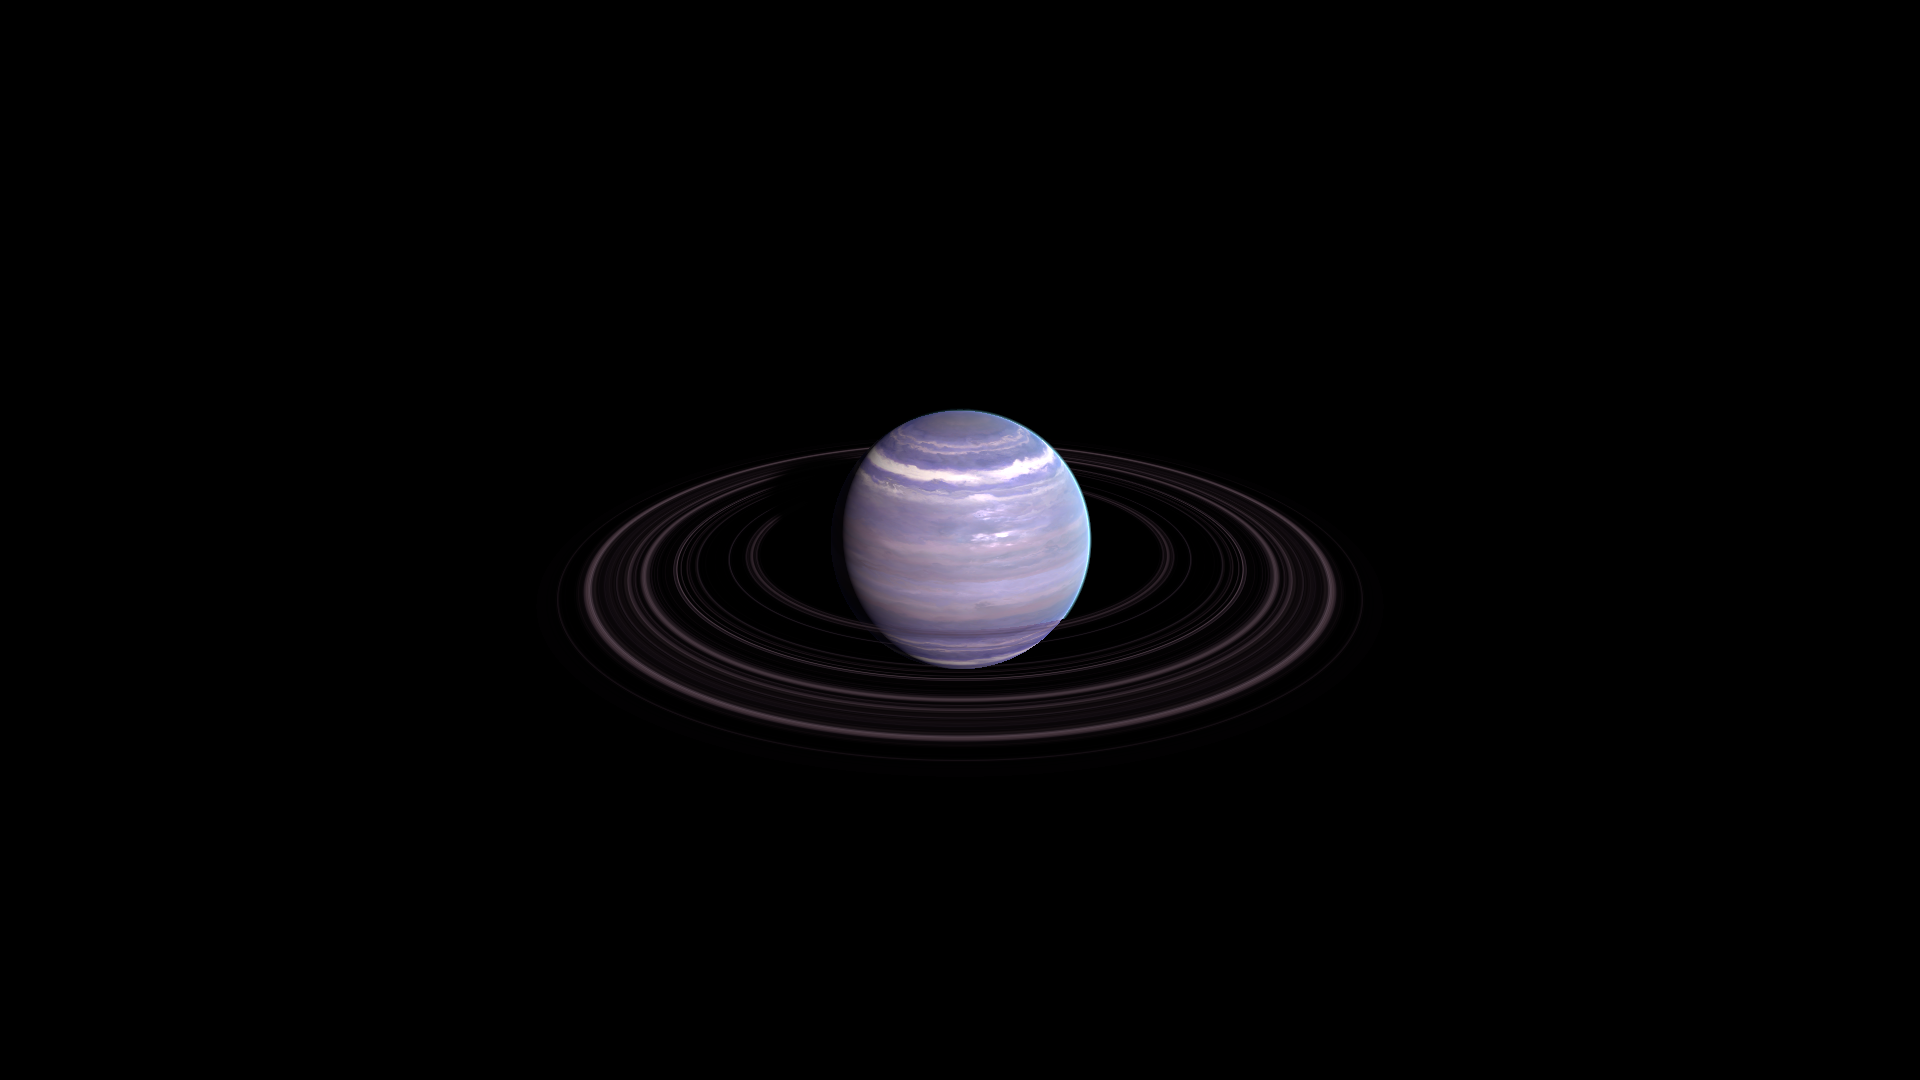
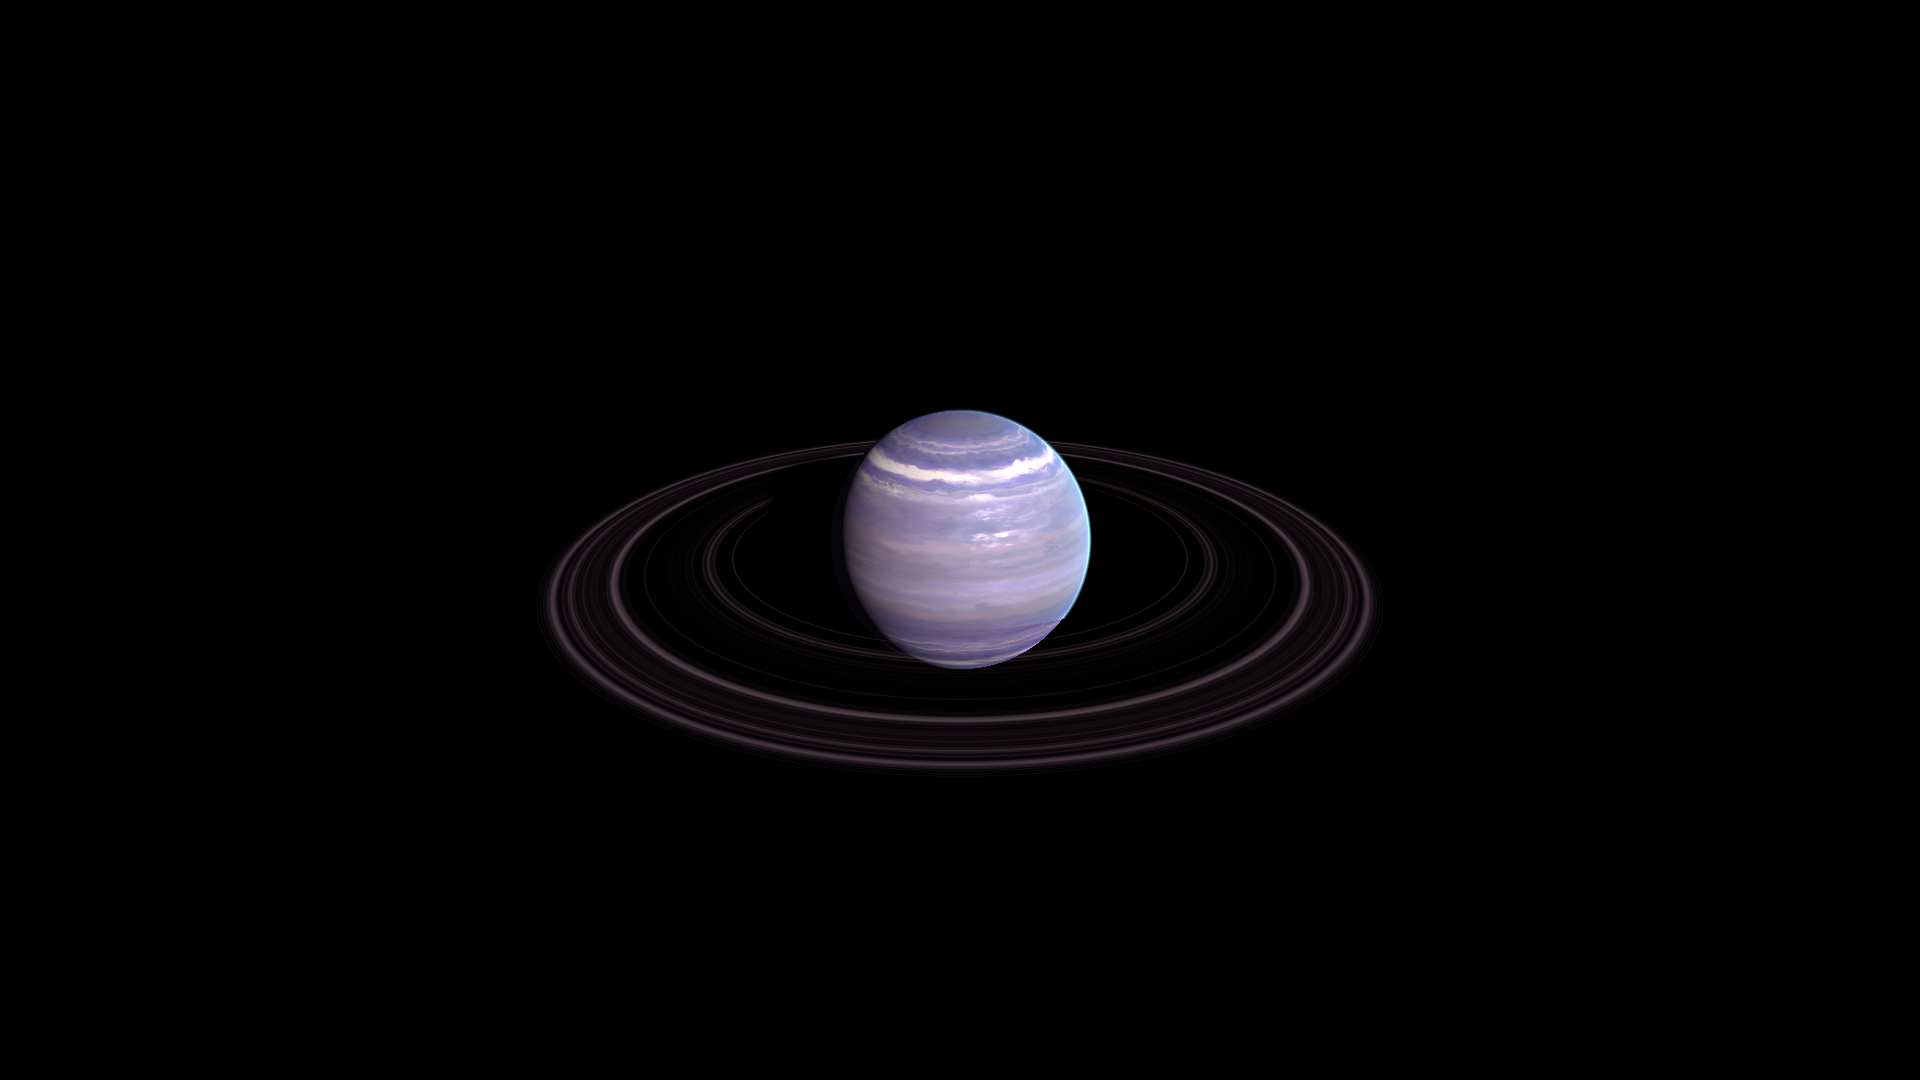
Ring Size comparison
Section titled “Ring Size comparison”Before: 5.99; After: 11.98
Look at the redistribution of radial bands on the same ring geometry.
Before — Ring Size = 5.99
After — Ring Size = 11.98
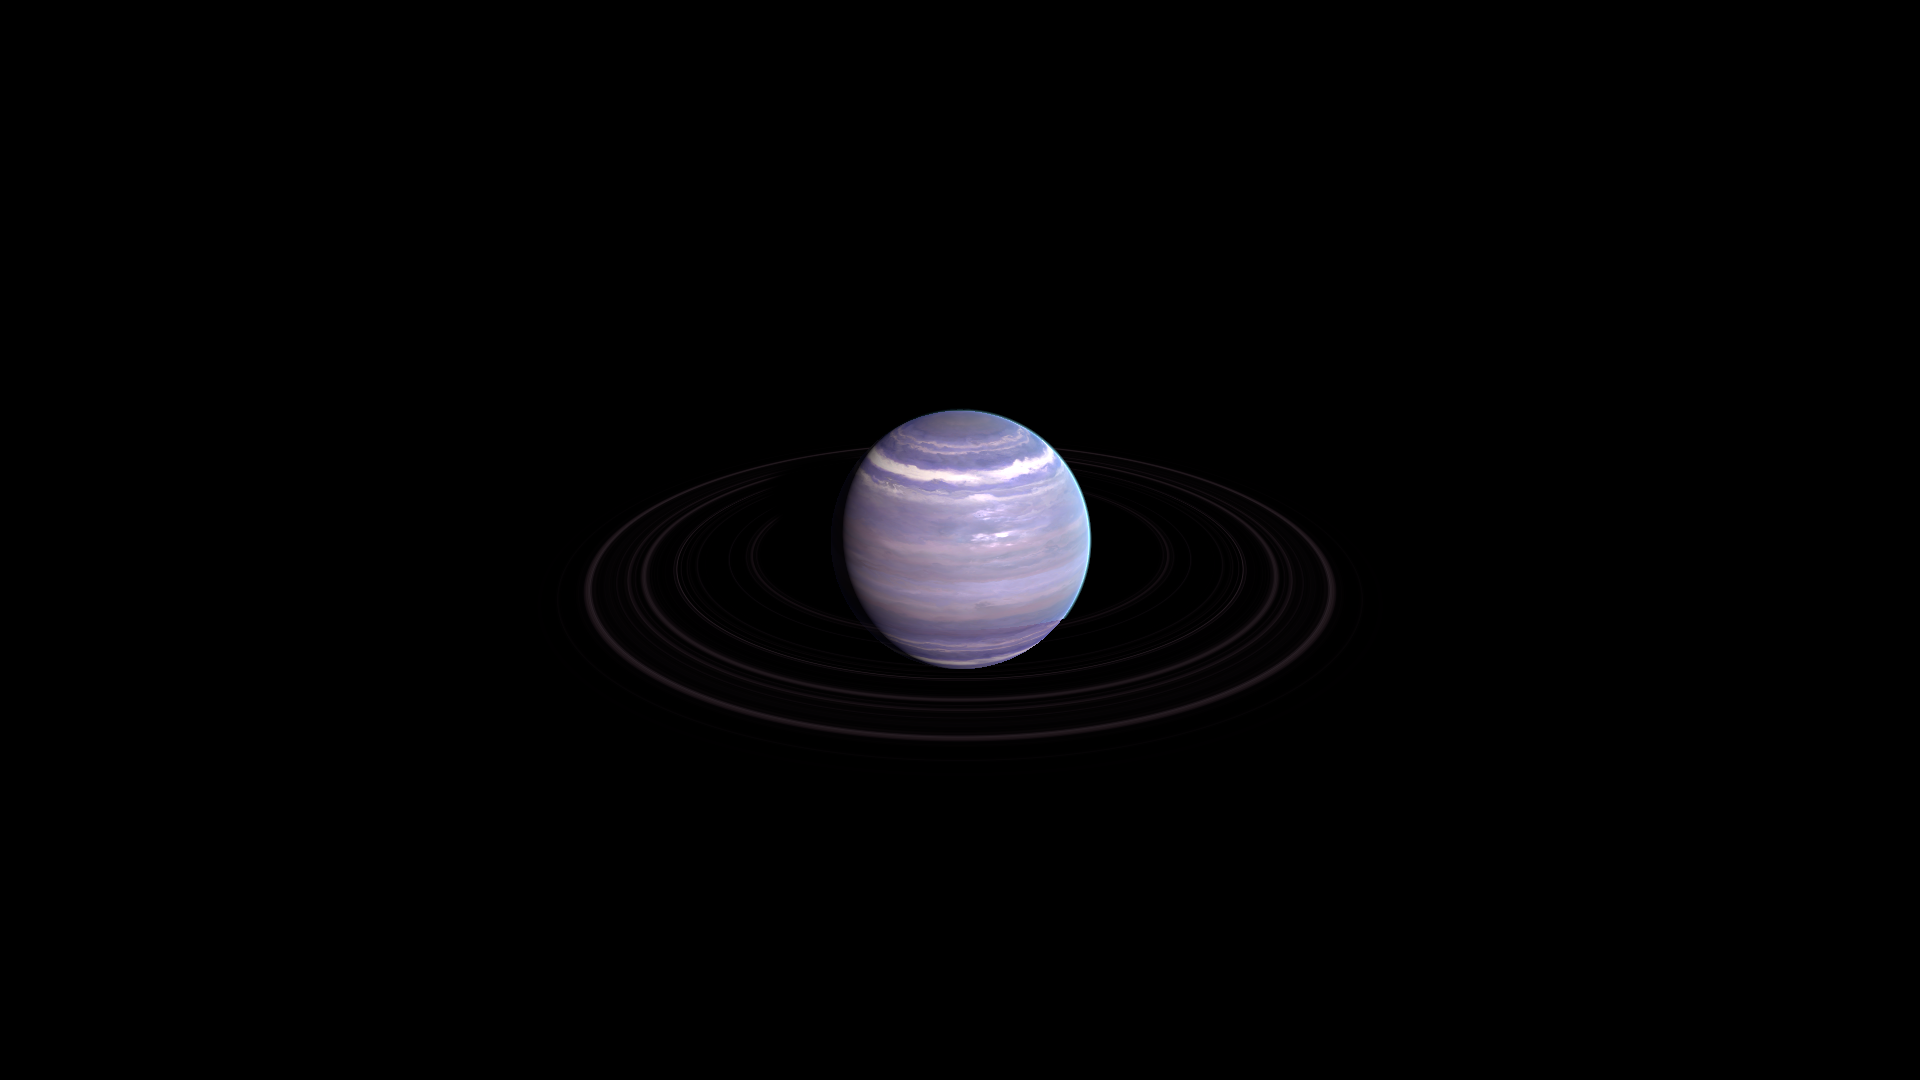
Ring Tint comparison
Section titled “Ring Tint comparison”Before: RGBA(0.551, 0.503, 0.679, 1.000); After: RGBA(0.551, 0.503, 0.679, 0.250)
Look at the reduced opacity of the colored bands; only tint alpha changes.
Before — Ring Tint = RGBA(0.551, 0.503, 0.679, 1.000)
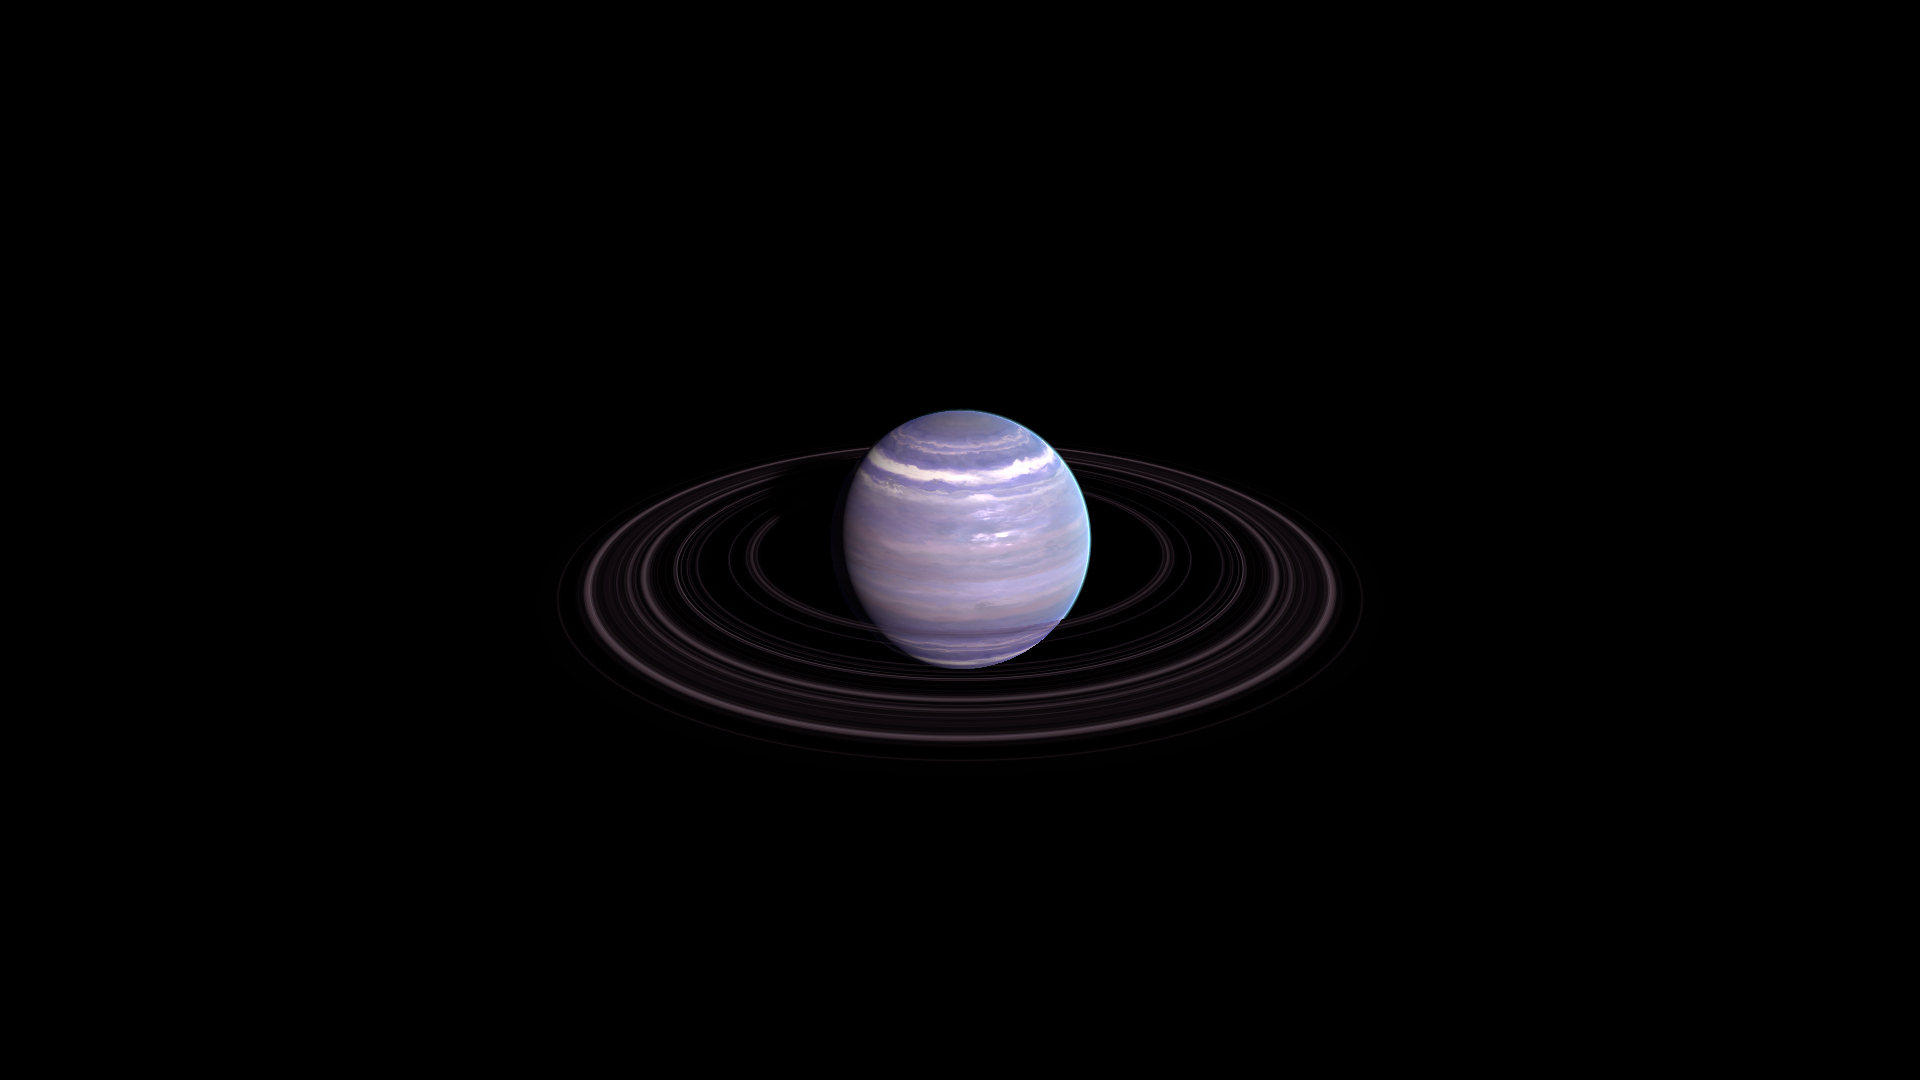
After — Ring Tint = RGBA(0.551, 0.503, 0.679, 0.250)
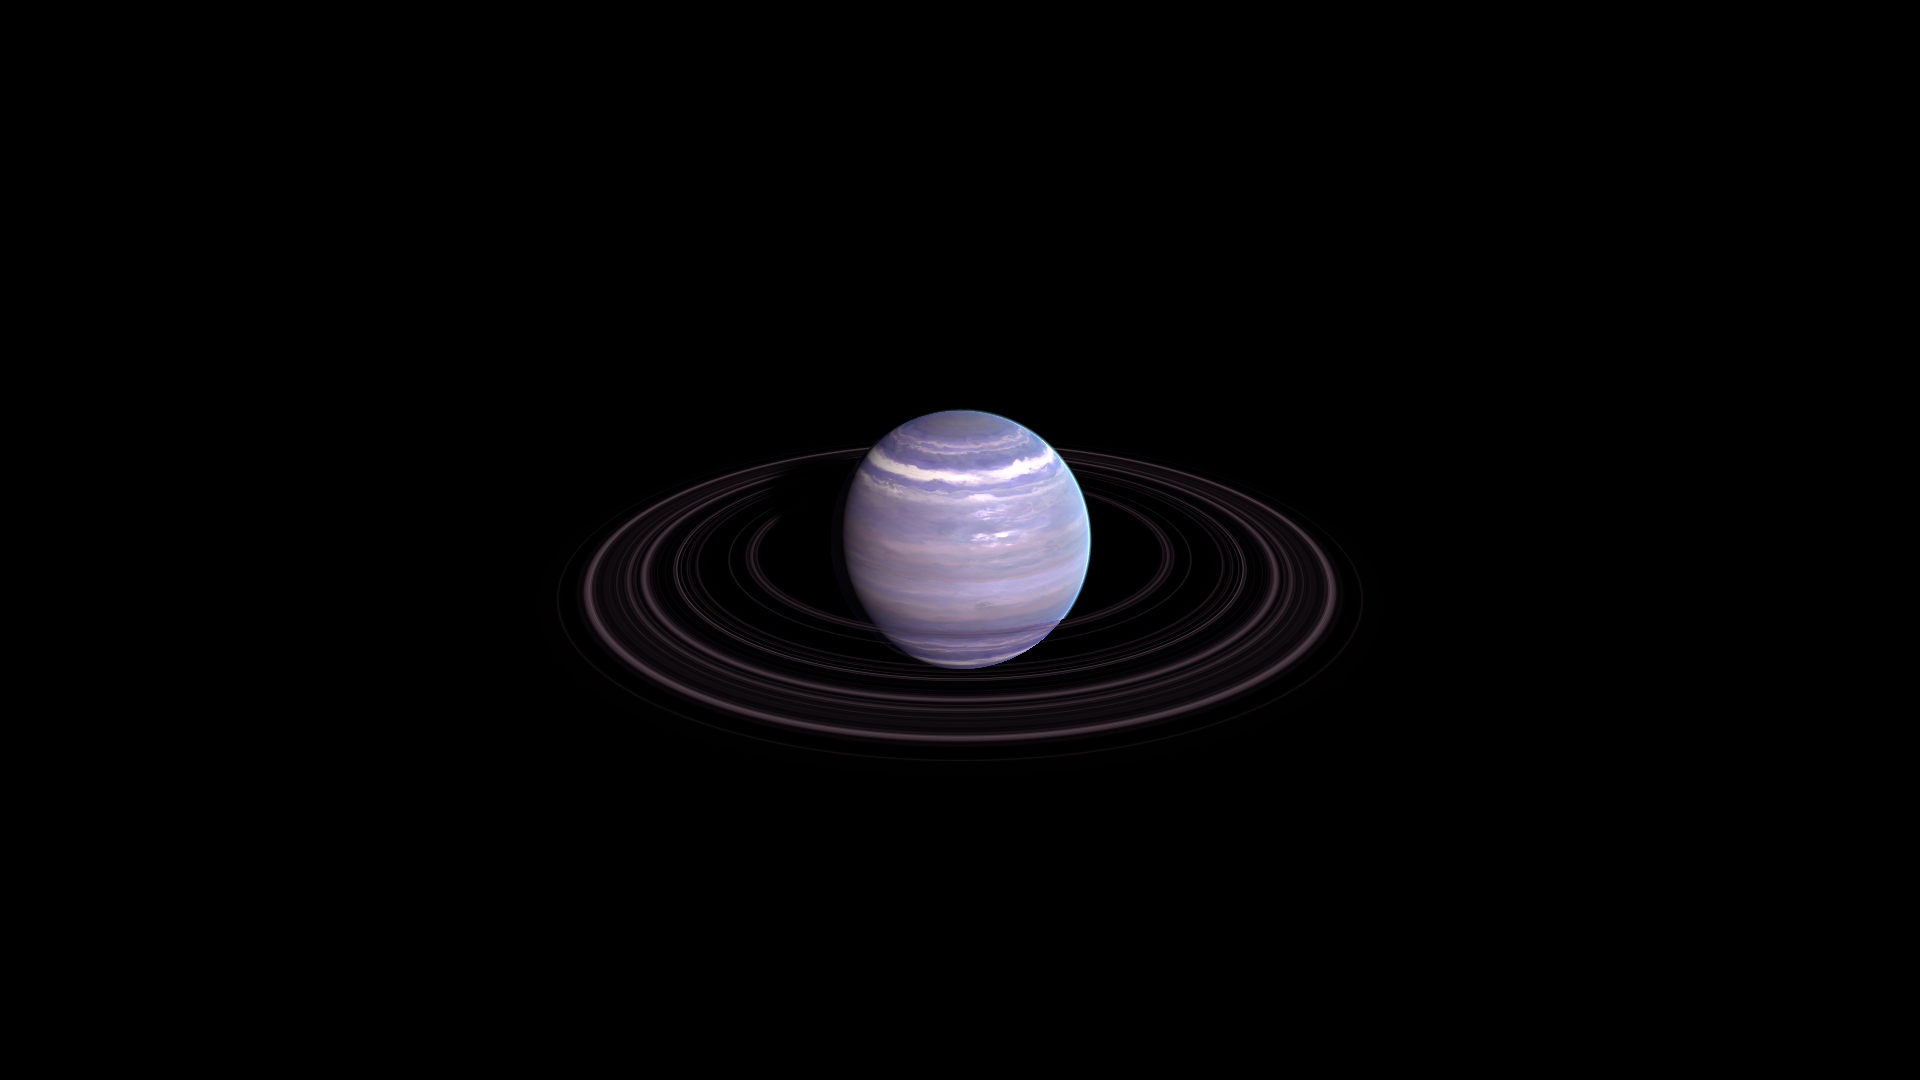
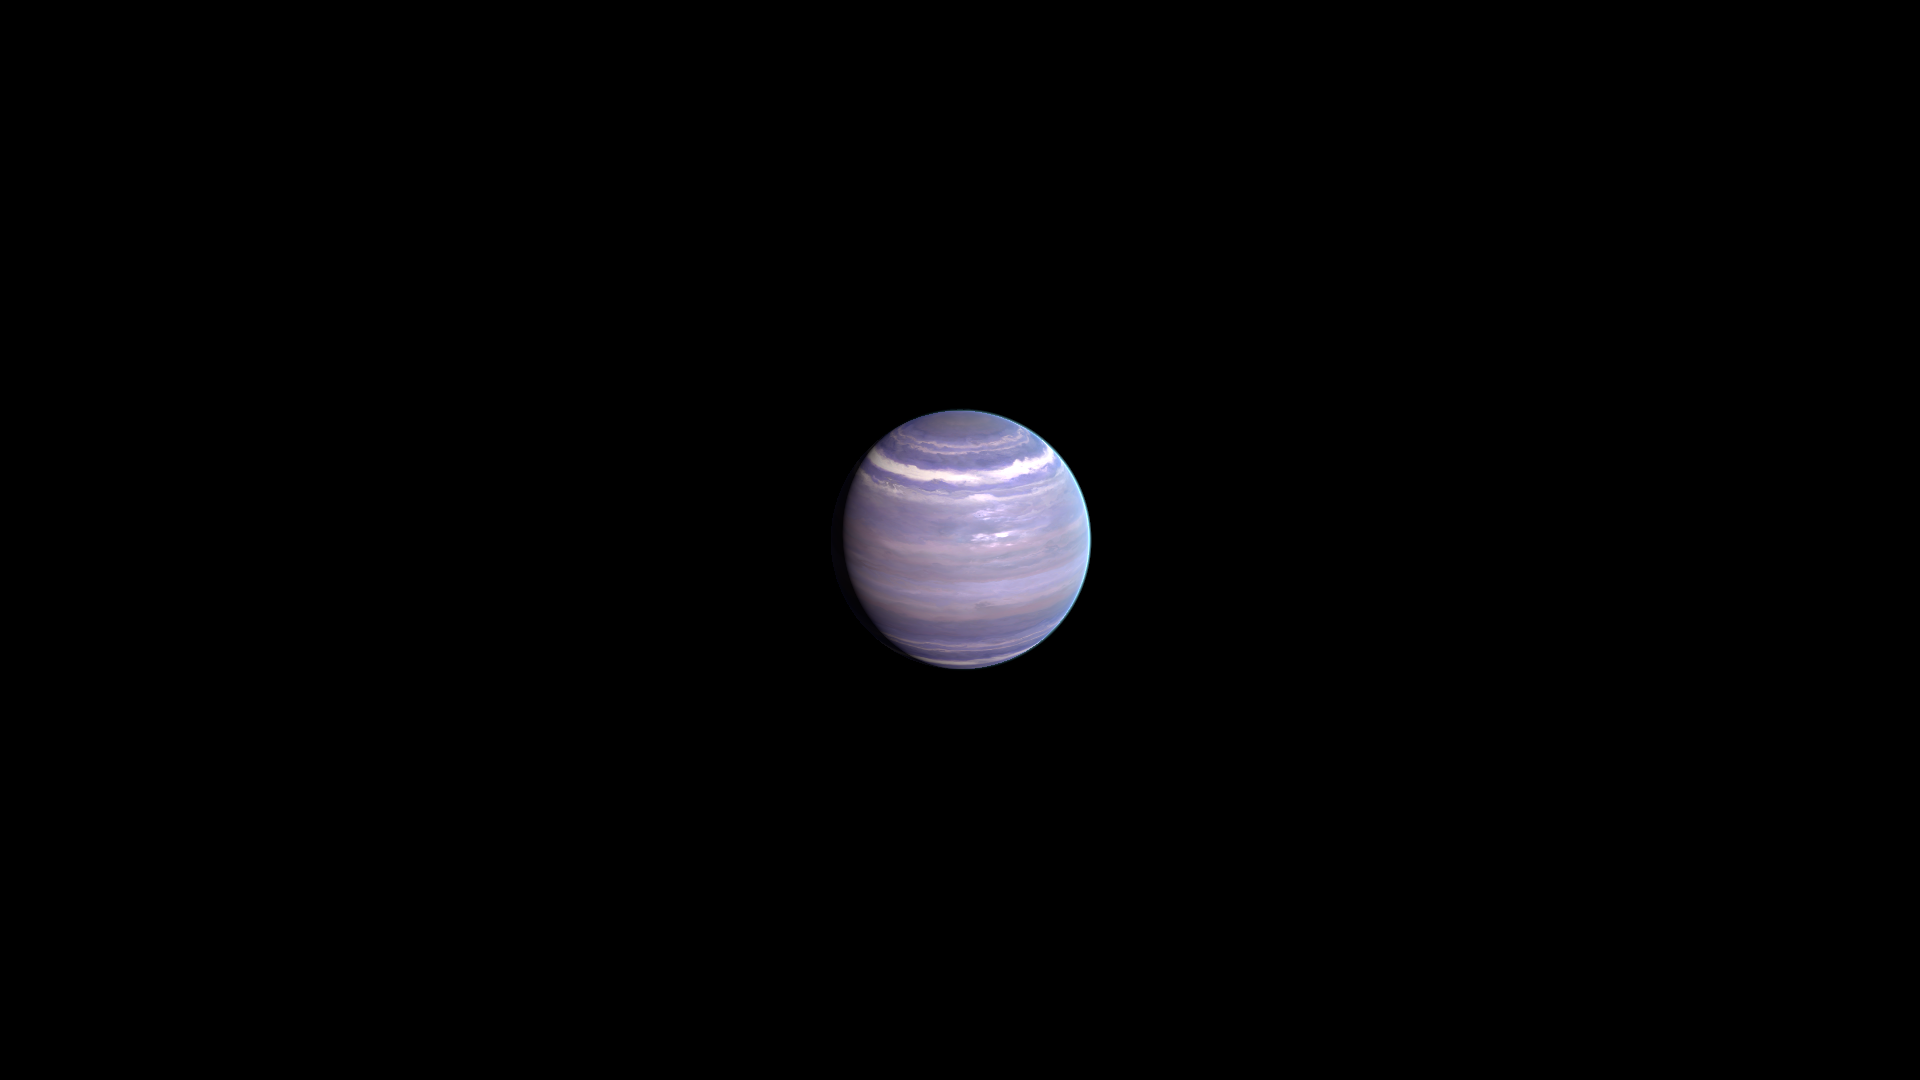
Clip comparison
Section titled “Clip comparison”Before: 0; After: 2
Look at the ring bands disappearing at Clip = 2; this changes clipping rather than just color.
Before — Clip = 0
After — Clip = 2
Related topics
Section titled “Related topics”Shader guide · Materials and customization · Lighting and effects · Practical workflows · Troubleshooting