

Practical customization workflows
Frame an inhabited crescent
Section titled “Frame an inhabited crescent”- Follow the Quick Start, then set up City Lights on a copy of the Terrestrial body material.
- Rotate the Directional Light to
(12, 142, 0)to bring night into view. Move the camera toward the planet along its viewing axis so the night-side clusters are large enough to read. - Keep the CityLight Population at
0.93initially. Increase CityLight Color HDR intensity for the shot. If the rim competes with the lights, lower the shell’s light_intensity independently. - Compare in Game view at fixed Exposure. Aim for a readable crescent, warm city points and a subtle blue edge.
Build a ringed gas giant
Section titled “Build a ringed gas giant”- Place
Planet_Gas_01at its authored scale. Frame it from above the ring plane so gaps between the bands are visible. - Duplicate the body material and warm its Tint. Duplicate the ring material separately and cool its Ring Tint. Keep the original ring map and alpha.
- Rotate one Directional Light to separate the bands and the planet’s terminator. Lower ring tint alpha if the front arc dominates the image. See Gas planets and rings for the channel layout and shadow controls.
Compose a red star with a nearby world
Section titled “Compose a red star with a nearby world”- Start with
Sun_Red, keeping its photosphere, corona and shell assignments. Place a planet with room between its silhouette and the star’s bright rim. - Adjust fixed Exposure until both silhouettes are readable. Add a separate Light and aim it so the planet’s lit side faces the star in the composition.
- Tune the Sun’s Boost, the plates’ Corona Boost and the Volume’s Bloom in that order. Check that the planet’s edge remains distinct. See Sun and Corona.
Point Light atmosphere
Section titled “Point Light atmosphere”Use this setup for a fixed shot where you want to try a positional source for the rim. Copy the shell material, set Use Point Light on and keep just one relevant Point Light visible to the camera’s HDRP light list. With the camera fixed, move the point and watch the glow shift. Use Ray, Mie and light_intensity on the shell to set its color and brightness.
The shell uses the first punctual light in the camera’s light list. That light can change when several sources are active, and camera or shell motion can change the result. Check the actual shot and use the Directional setup for a predictable planetary rim.
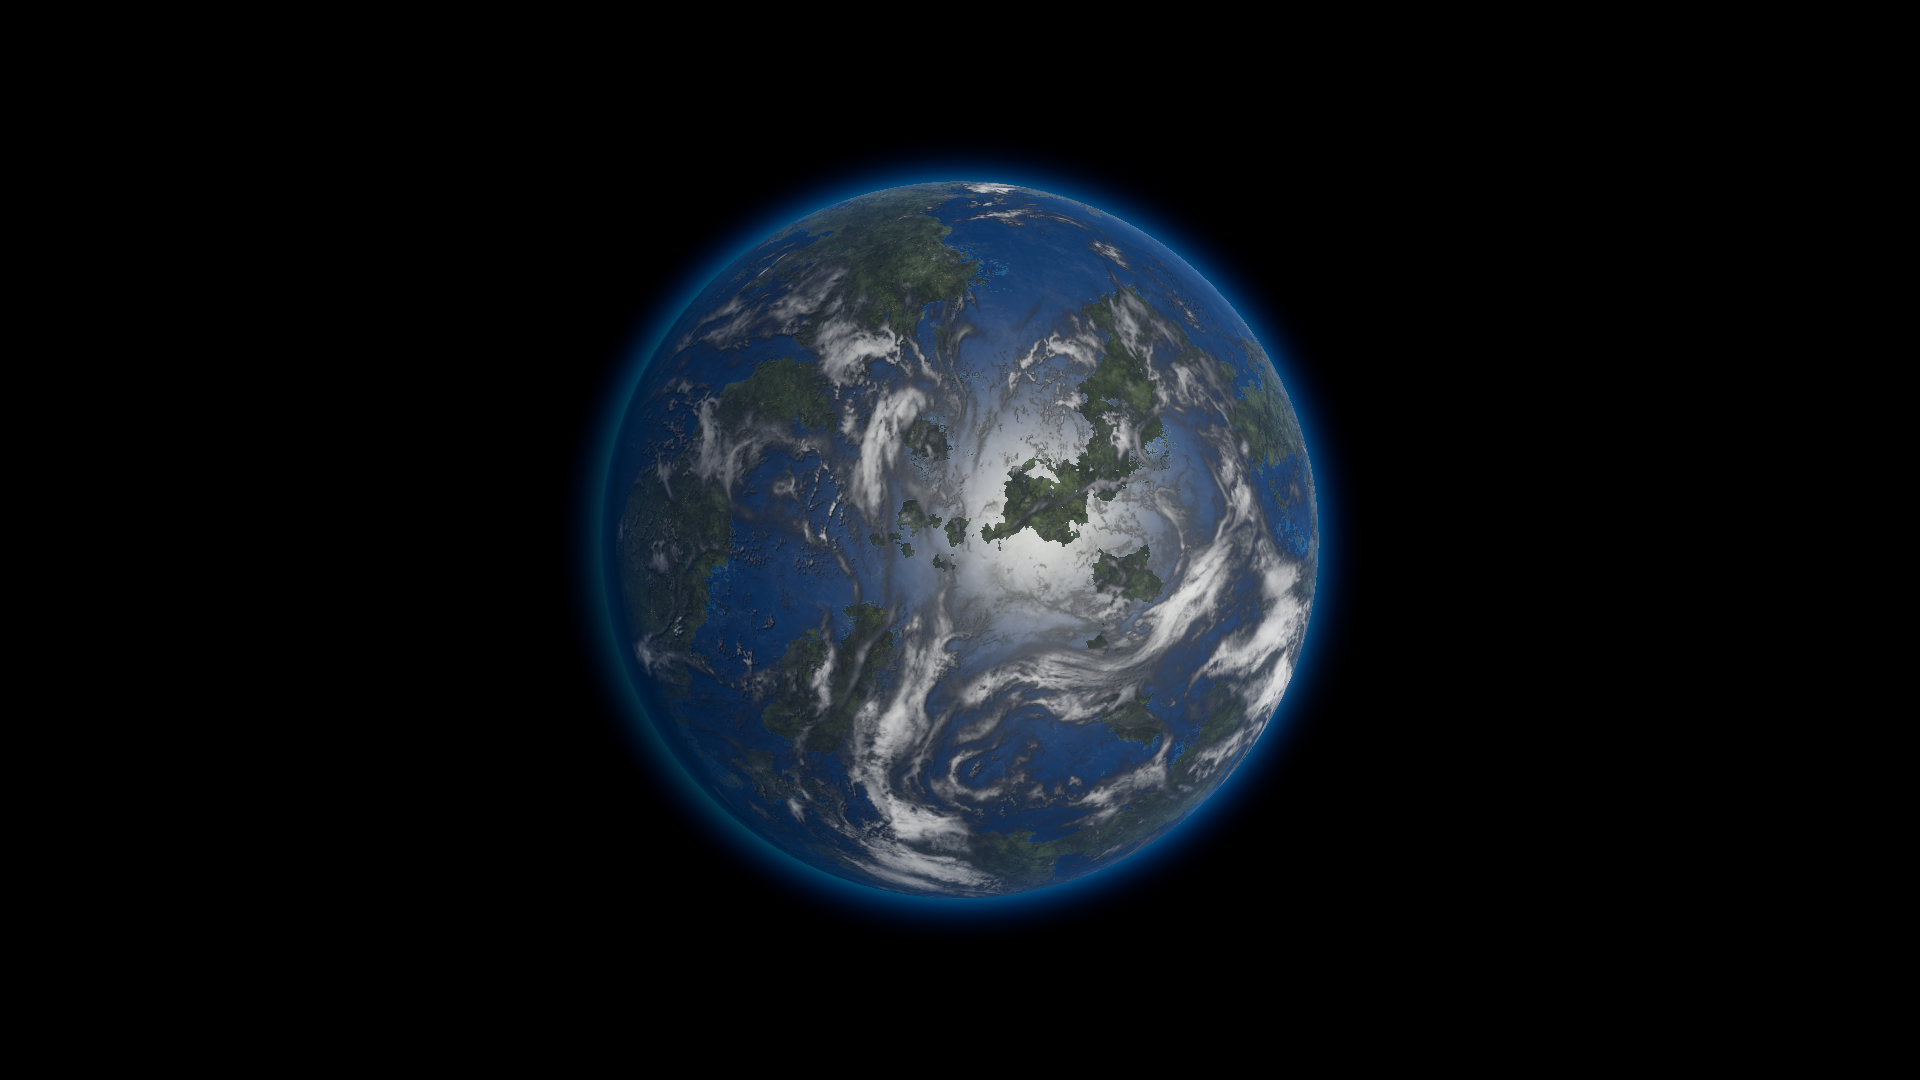
Before · Use Point Light off (0).
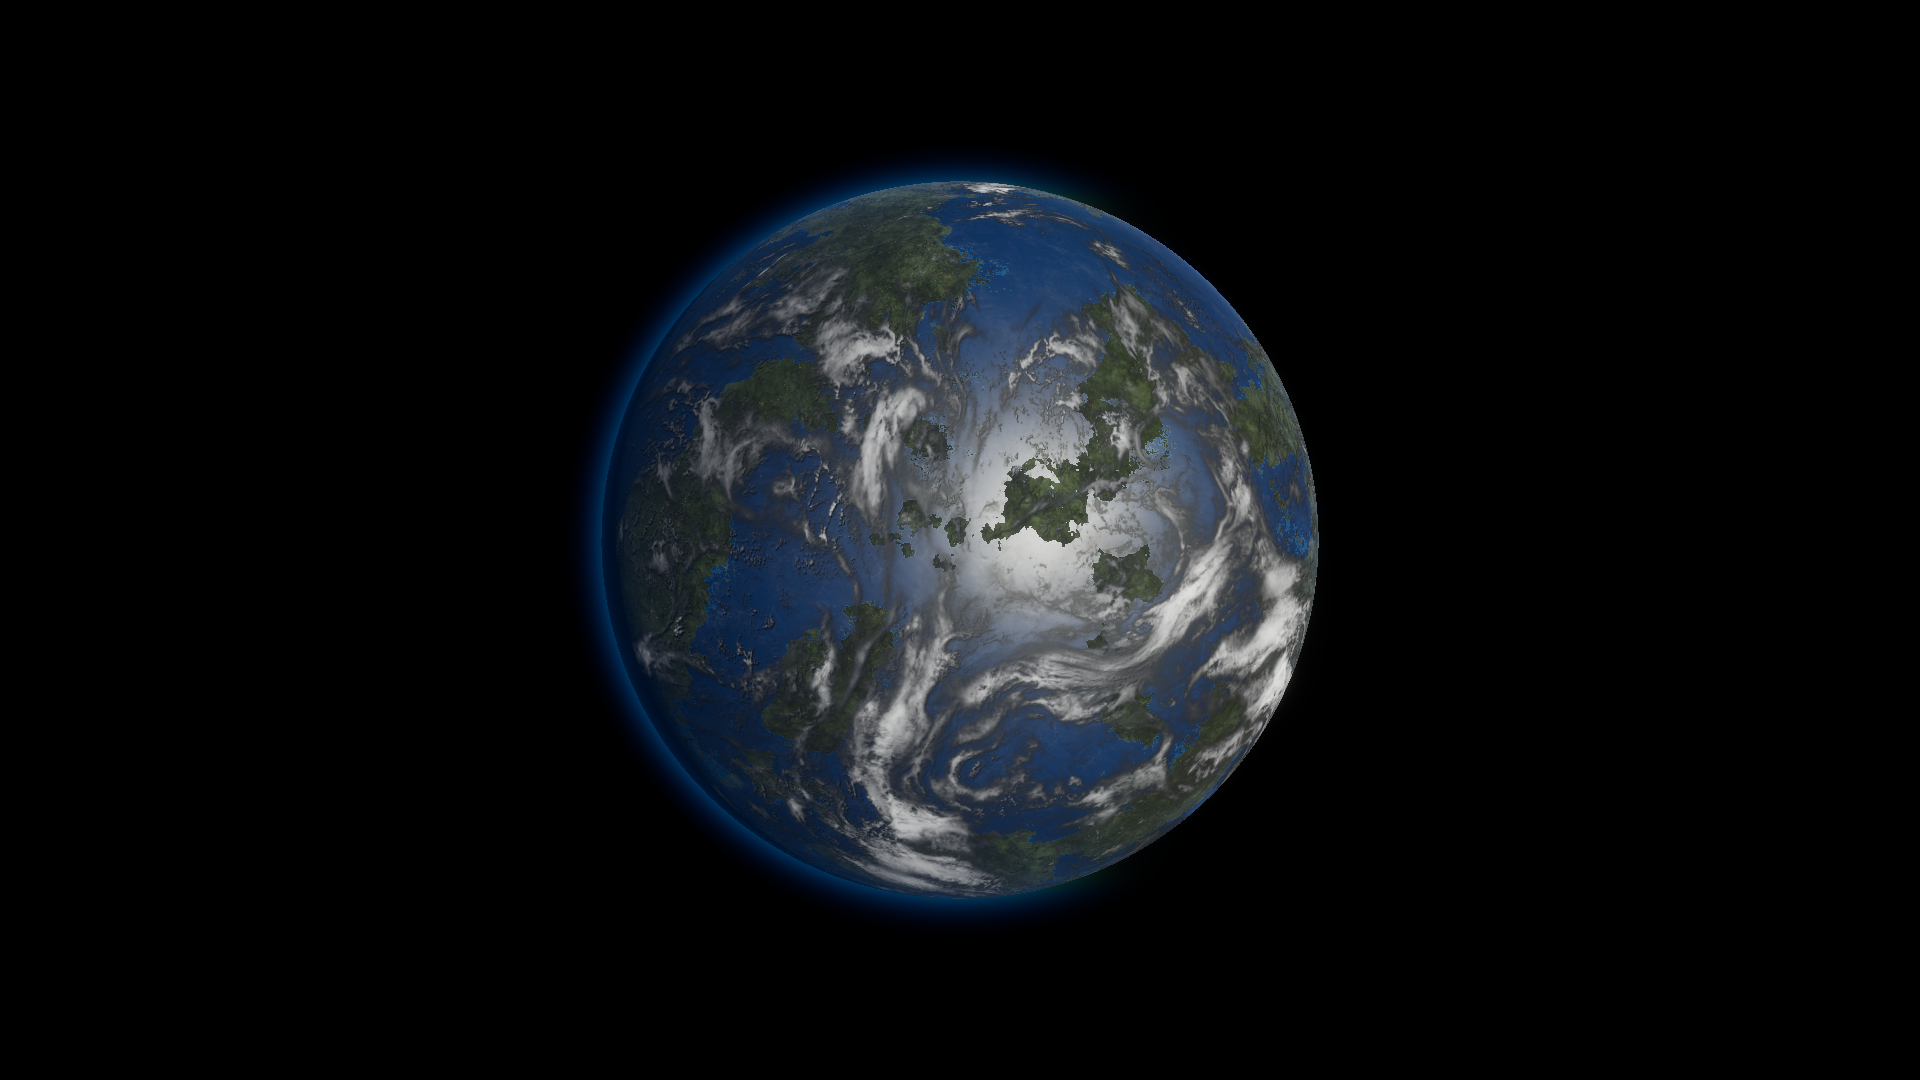
After · Use Point Light on (1). The Directional and Point Lights stay in the same positions in both frames.