

Quick Start
Set up a blue planet with a sunlit face, a dark side and a thin atmospheric rim. Use the original Planet_Terrestrial_01 prefab and keep its body and atmosphere at their supplied scales.
1. Add the planet
Section titled “1. Add the planet”- Import Planets HDRP and complete Installation and HDRP setup, including the HDRP configuration step for the versions used here.
- Create and save a new scene. Drag
Planet_Terrestrial_01fromAssets/FORGE3D/Planets HDRP/Prefabsinto the Hierarchy and set its position to(0, 0, 0). Keep the root scale at(600, 600, 600)and leave the child transforms as supplied. - Expand the prefab. The root Mesh Renderer > Materials > Element 0 uses
Planet_Terrestrial_01. The childAtmosphere_Terrestrial_01has its own Mesh Renderer and material of the same name. Leave both materials assigned for the first render.
2. Frame and light it
Section titled “2. Frame and light it”- Use one Camera. Set Projection to Perspective, Field of View Axis to Vertical, and Field of View to
32°. Use position(178, 579, -1485)and rotation(21.2, -6.84, 0). Under Clipping Planes, set Near to0.76and Far to9200. - Under Environment, set Background Type to Color and Background Color to black. Keep the planet and atmosphere layers in the camera’s Culling Mask.
- Use one white Directional Light. If you need one, choose GameObject > Light > Directional Light. Set rotation to
(25, -35, 0)and Intensity to about11.72lux. Keep Use Point Light off on the atmosphere material. - Choose GameObject > Volume > Global Volume. Put it on a layer included in the camera’s Environment > Volume Mask and click New next to Profile. Use Add Override to add Exposure. Enable the checkboxes for Mode and Fixed Exposure, then choose Fixed and set
0 EV100. - Add Post-processing > Tonemapping. Enable the Mode override and choose ACES. For a soft halo, add Post-processing > Bloom and enable Intensity at
0.2. Start with one active scene Volume. If you start from a template with sky or fog, see Start with direct light.
In Game view at 16:9, you should see the full globe, with blue water, land and white clouds on the lit face and a blue rim along part of the edge. Rotate the Directional Light a little to see the day/night boundary and rim move.
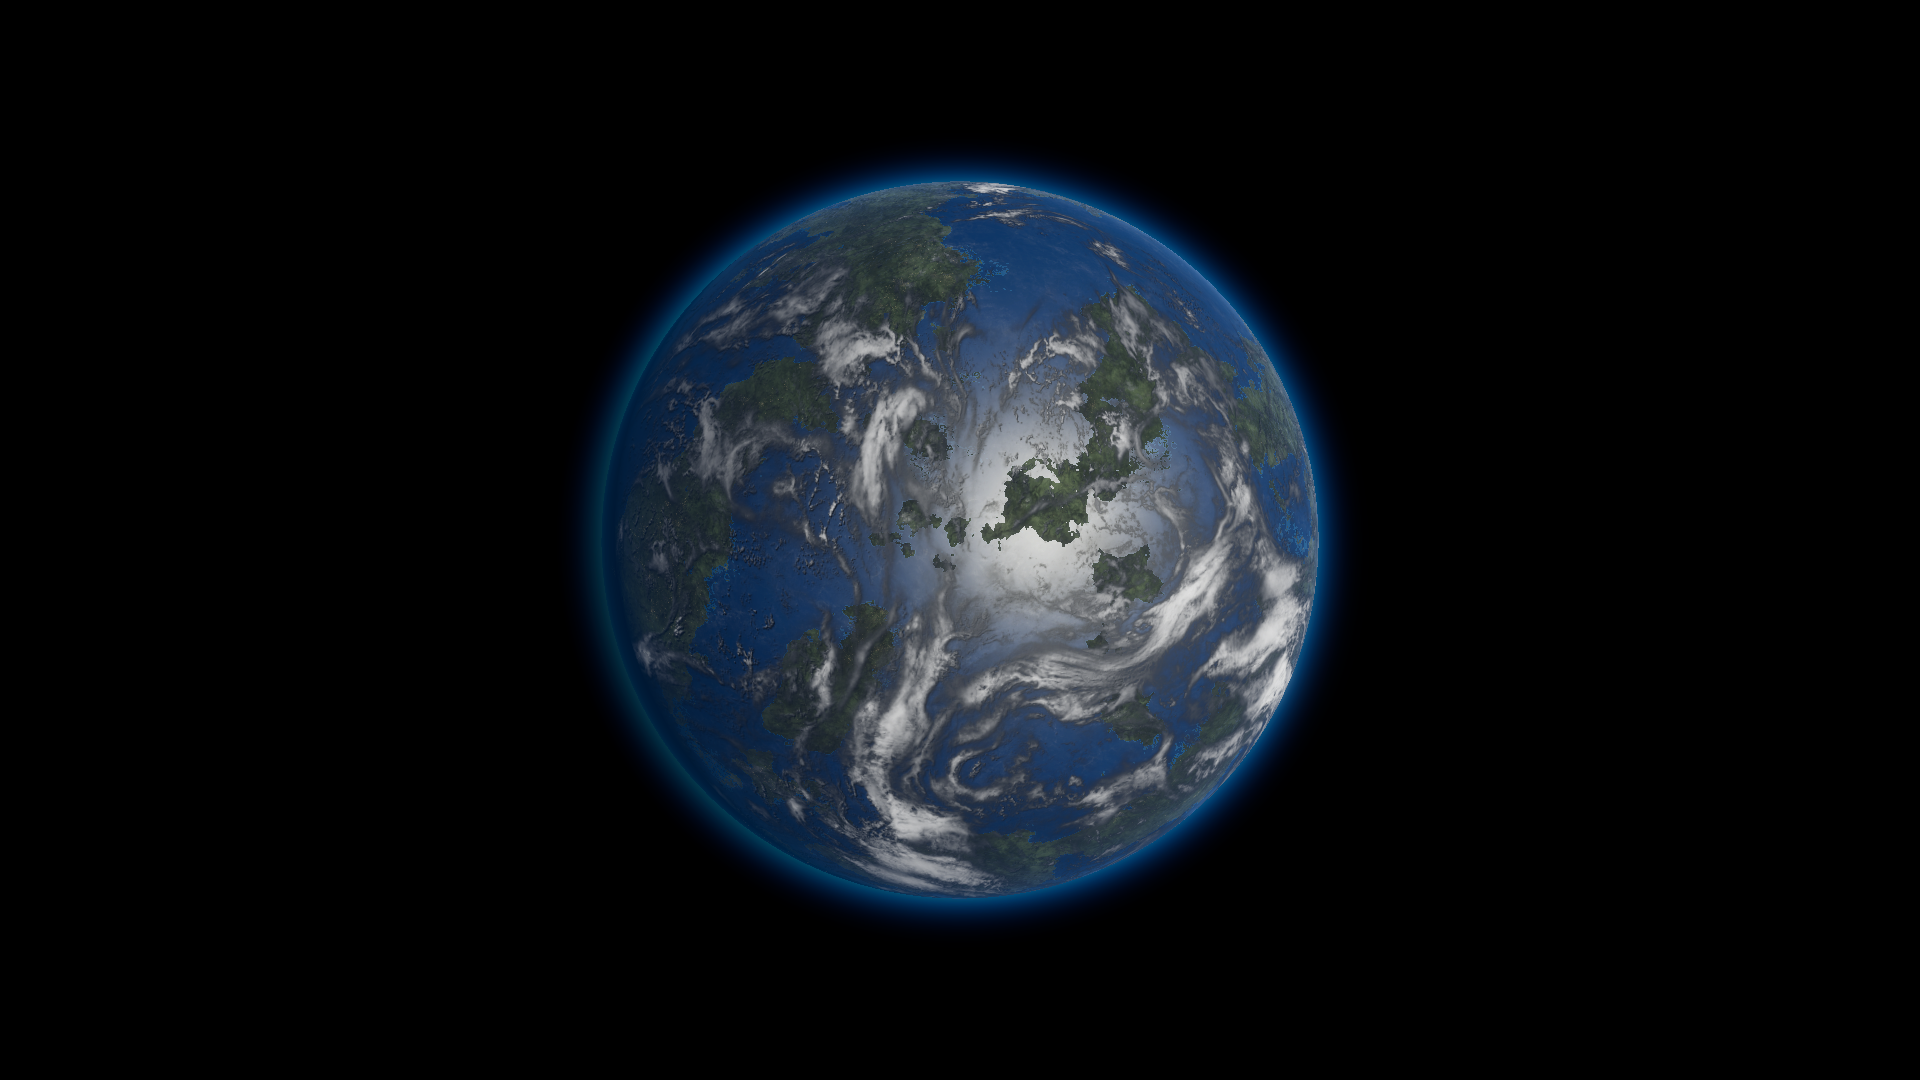
Terrestrial 01 at its authored scale, under a Directional Light with fixed Exposure and ACES.
3. Make it yours
Section titled “3. Make it yours”- Click the body material in Element 0 to locate it in the Project window. Duplicate it, rename the copy and assign the copy to the same slot on this scene instance.
- On the copy, lower Clouds Output from
1to0.5. More of the surface should show through. Cloud shadows are a separate setting. - To change the rim, duplicate and reassign the shell’s material the same way. Try a slightly different Ray color while keeping Planet Radius, Atmosphere Radius and Global Scale at their preset values.
If the material is pink, the image is too dark, or the rim is missing, see Troubleshooting.
Next, open a supplied demo or customize more material layers.