

Practical workflows
These workflows start from supplied prefabs. Complete the Quick Start, keep a fixed camera and Directional Light while comparing, and copy each material before editing it. Paths below begin at Assets/FORGE3D/Planets/.
An Earth-like world with a clearer ocean
Section titled “An Earth-like world with a clearer ocean”Start: Terrestrial/Planet_Terrestrial_01.prefab, with its surface and atmosphere intact.
- Copy
Terrestrial/Materials/Planet_Terrestrial_01.matand assign it to the surface. - Compare Clouds Output = 0.279 with 0. Separately compare Cloud Shadows = 0.085 with 0.
- Choose Water Deep Color and Water Shallow Color with the water exposed. Keep Land Mask unchanged to preserve continents.
- Restore the cloud contribution you prefer. Change Clouds Tint only after the ocean colors read clearly.
Result: a recognizable terrestrial world with your ocean palette and independently chosen cloud/shadow contributions. See the Terrestrial comparisons.
A stronger atmospheric arc
Section titled “A stronger atmospheric arc”Start: the same terrestrial prefab, with a white Directional Light.
- Find the shell using FORGE3D/Planets/Atmosphere and copy its assigned material.
- Compare Scattering Intensity = 13.27 with 26.54.
- Reset that setting, then compare Glow Intensity = 0.12 with 0.24.
- Choose Scattering Color and Glow Color, then inspect after rotating the light.
Result: a stronger colored limb without changing the terrain material. The Atmosphere reference shows the independent comparisons.
Moving clouds without moving the globe
Section titled “Moving clouds without moving the globe”Start: a terrestrial surface material copy with the original cloud maps.
- Enter Play Mode and view a pole as well as the equator.
- Change Clouds Top Speed slightly for pole rotation.
- Change Clouds Middle Speed separately for equatorial panning; use zero to stop either layer.
- Adjust Clouds Height and Cloud Shadows after the motion reads well.
Result: animated cloud detail on a stationary planet Transform. See Surface and clouds.
A readable night side with cities
Section titled “A readable night side with cities”Start: the terrestrial prefab with its city textures unchanged.
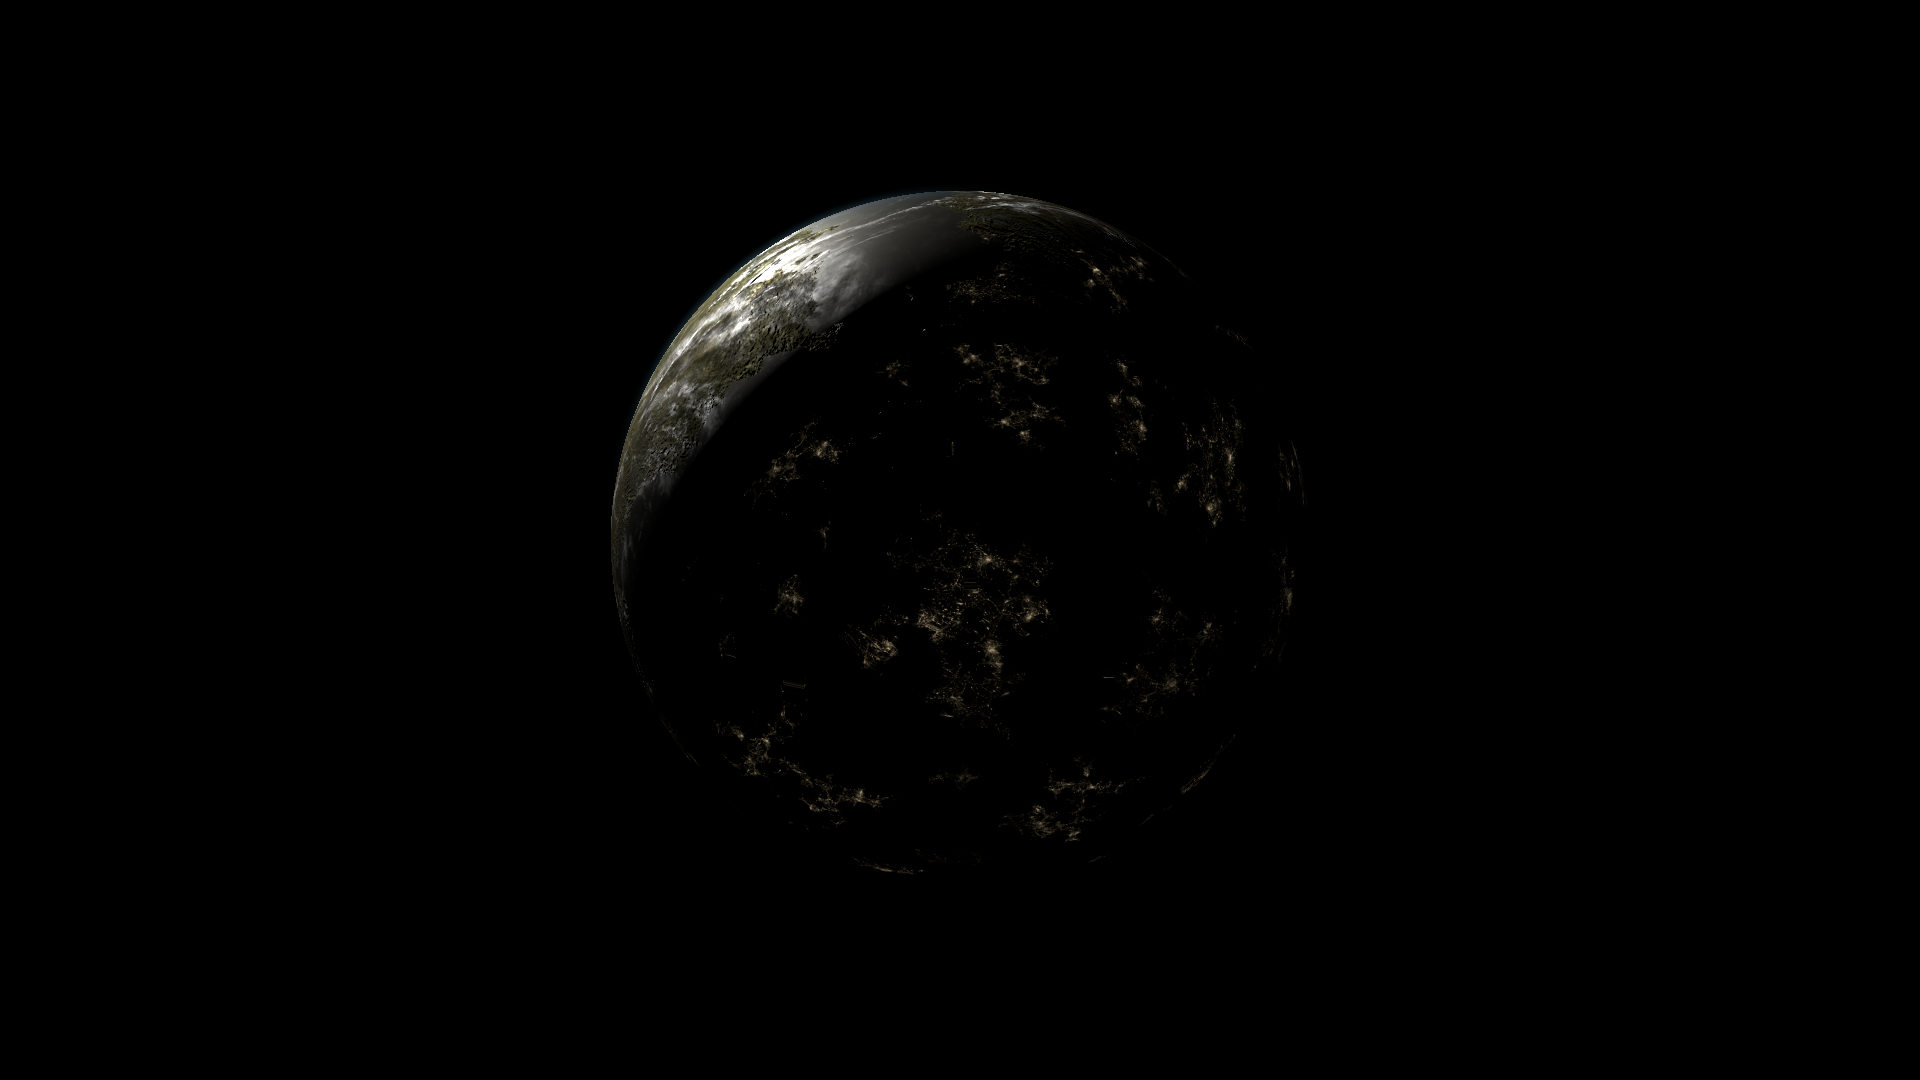
- Rotate the Directional Light so most of the camera-facing hemisphere is dark.
- Change CityLight Color on the surface copy to choose the city palette. Compare with black to isolate the emission.
- Adjust CityLight Population gradually, keeping it positive and nonzero.
- Recheck the result with clouds enabled; their shadows participate in the final mask.
Result: texture-based city emission on land, shaped by the night-side appearance.
A brighter frozen world
Section titled “A brighter frozen world”Start: Ice/Planet_Ice_01.prefab and a copy of Ice/Materials/Planet_Ice_01.mat.
- Compare Color Boost = 2 with 4.
- Choose RampLow, RampMid and RampHigh as a coordinated palette.
- Tune Ice Detail in small steps, then revisit Ice Factor A/B only if the color distribution needs to change.
- Keep Ice Factor C nonzero and preserve a nonzero remap span.
Result: layered ice detail in a brighter or newly colored palette. See Ice.
A more intense molten surface
Section titled “A more intense molten surface”Start: Lava/Planet_Lava_01.prefab and a copy of Lava/Materials/Planet_Lava_01.mat.
- Compare Magma Power = 2.02 with 4.04 to reshape the molten detail.
- Reset it, then compare Magma Glow = 1111 with 2222 to see the emission change separately.
- Choose Magma Color Min and Magma Color Max, keeping hot detail visible rather than solid white.
- To tune the custom highlight, set Specular Color alpha = 1 and compare Shininess = 0.01 with 1 under the same light.
Result: a controlled molten pattern with stronger glow and an optional visible highlight response. See Lava for all three comparisons.
A cooler, more turbulent gas giant
Section titled “A cooler, more turbulent gas giant”Start: Gas/Planet_Gas_01.prefab and a copy of Gas/Materials/Planet_Gas_01.mat.
- Compare UV Distortion = 0.076 with 0.5.
- Compare white Tint with RGBA (0.5, 1, 1, 0), preserving the supplied alpha.
- Inspect the pole and adjust Pole Color and Pole Boost if needed.
- In Play Mode, give UV Speed or UV Distortion Speed a small nonzero XY component to animate the respective layer. A zero vector remains stationary.
Result: cooler, more strongly warped gas bands, with motion independent of the object Transform. See Gas.
Softer translucent rings
Section titled “Softer translucent rings”Start: the gas prefab’s ring renderer and a copy of its Ring Transparent material.
- Keep Ring Tint RGB = (0.551, 0.503, 0.679) and compare alpha 1 with 0.25.
- Leave Clip at its preset value while comparing opacity.
- Tune Shadow Penumbra for a softer shadow transition, then Shadow Vertex to fit it to the planet.
- Check overlap with the atmosphere and other transparent objects from your final camera.
Result: lighter-looking bands with a separately adjustable planet shadow. See Ring Transparent for red-channel opacity and depth-writing details.
More visible storm lightning
Section titled “More visible storm lightning”Start: Thunderstorm/Planet_Thunderstorm_01.prefab and a copy of its matching surface material.
- Compare Lignting Mask Pow = 10.2 with 2 while retaining the original maps.
- Enter Play Mode and watch multiple flashes.
- Choose Lightning Color, then tune Lightning Boost.
- Adjust Lighting A Frequency and Lighting B Frequency separately to change the texture-offset cadence.
Result: broader lightning regions and a chosen flash appearance. It remains material emission rather than illumination from spawned Lights.
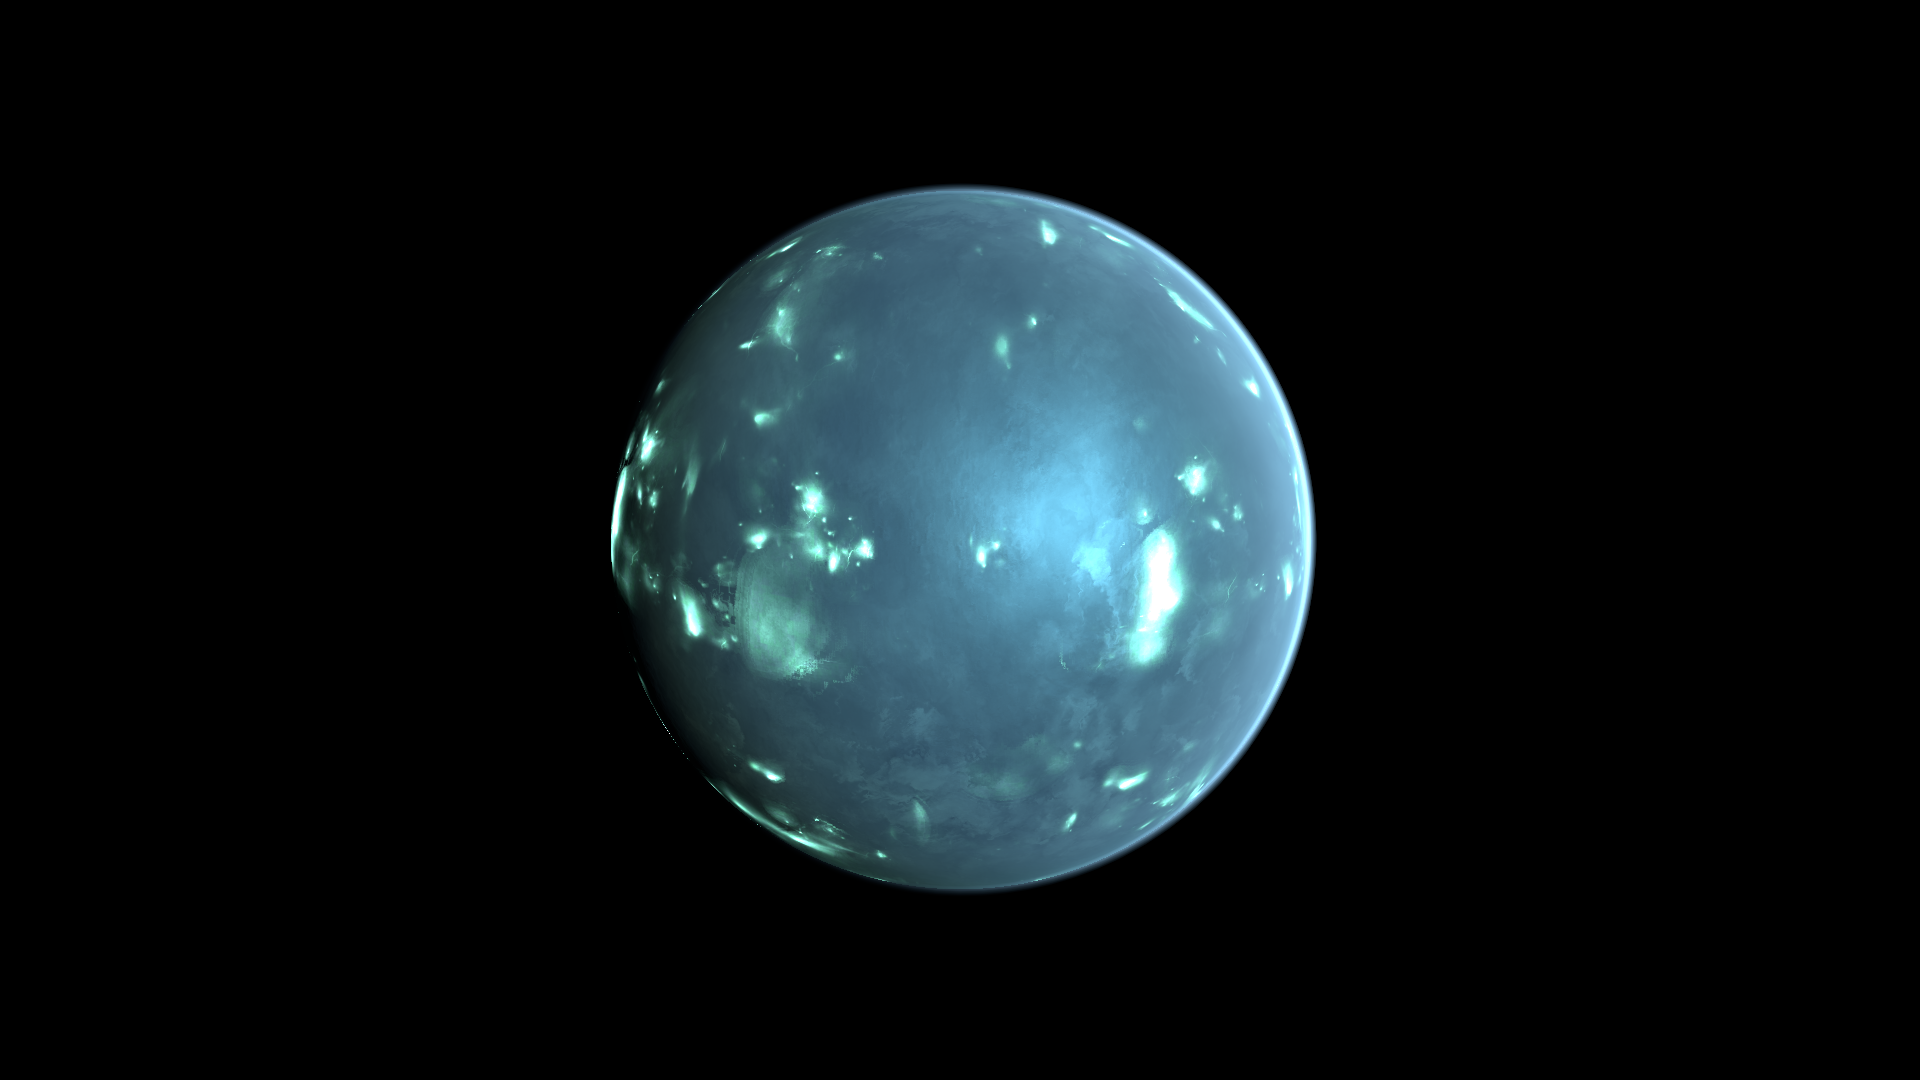
Changed recipe: Lignting Mask Pow = 2, rather than the original 10.2.
A coordinated star and corona
Section titled “A coordinated star and corona”Start: Sun/Sun_Blue.prefab, with its child arrangement intact.
- Copy
Sun/Materials/Sun_Blue.matandSun/Materials/Sun_Corona_Blue_01.matand assign them to the correct renderers. - Compare surface Surface Power = 1.9 with 3.8. Set Cool, Warm and Hot for a coherent palette, preserving Hot alpha initially.
- On the Corona copy, compare Corona Falloff = 3.77 with 7.54 and match Corona Color to the surface.
- Keep Depth Texture enabled and Depth Fade nonzero. Revisit that world-unit setting after scaling the root; the published examples use scale 1200.
- Add a separate Directional Light to illuminate other scene objects.
Result: a matched stellar surface and corona, with independent scene lighting. See Rings, Sun and Corona.