

Quick Start
Create a terrestrial planet with an ocean, clouds and atmospheric glow, then make a simple visual variation. Keep the supplied preset intact so you can return to it.
1. Prepare Unity and install both parts
Section titled “1. Prepare Unity and install both parts”- Open a Unity 2022.3 URP project with Universal RP 14 installed. This guide uses 2022.3.52f1 and URP 14.0.11.
- Import the base Planets assets from Package Manager > My Assets.
- Double-click
Assets/FORGE3D/Planets/SRP Templates/Planets_URP.unitypackageand import its contents. This second import overwrites the Built-in shaders and materials with URP versions. - Confirm Linear in Project Settings > Player > Other Settings > Rendering > Color Space, and assign a URP asset in Graphics and the quality level you use.
If you have customized Planets before, copy those materials out of the product folders before the overwrite. Use the non-Unity-6 template for these instructions. Installation has the full setup and depth settings.
Result: Unity finishes importing and compiling without shader errors. Do not start tuning pink materials; fix the import or pipeline first.
2. Add a ready-made planet
Section titled “2. Add a ready-made planet”- Create and save a new scene, for example
Assets/MyPlanets/FirstPlanet.unity. - Drag
Assets/FORGE3D/Planets/Terrestrial/Planet_Terrestrial_01.prefabinto the Hierarchy. - Leave its authored scale and child transforms unchanged for this first view.
- Select the prefab root and press F in Scene View to frame it.
The prefab already combines a surface with atmosphere shells. You do not need to construct the effect on a generic Unity sphere or add a planet controller.
3. Frame and light the planet
Section titled “3. Frame and light the planet”- Keep one Camera and one Directional Light in the scene. If the scene has no directional light, add one through GameObject > Light > Directional Light.
- Set the light color to white and intensity to 1. As a useful initial direction, try Transform rotation (25, -35, 0).
- In Scene View, orbit until both a lit hemisphere and a dark edge are visible. Leave room around the planet for the atmosphere.
- Select the Camera and use GameObject > Align With View to copy the view. Check the actual composition in Game View.
- If the planet is cut off, adjust the Camera’s Clipping Planes to include the entire planet and shells. The needed distance depends on the prefab’s scale; a fixed small-camera setup is not suitable for every scene.
- For a simple space background, set the Camera Environment > Background Type to Solid Color and choose black. Begin without post-processing while choosing material colors.
Result: a textured, lit planet with a visible atmospheric edge. The Camera field of view and Game View aspect ratio determine the final framing.
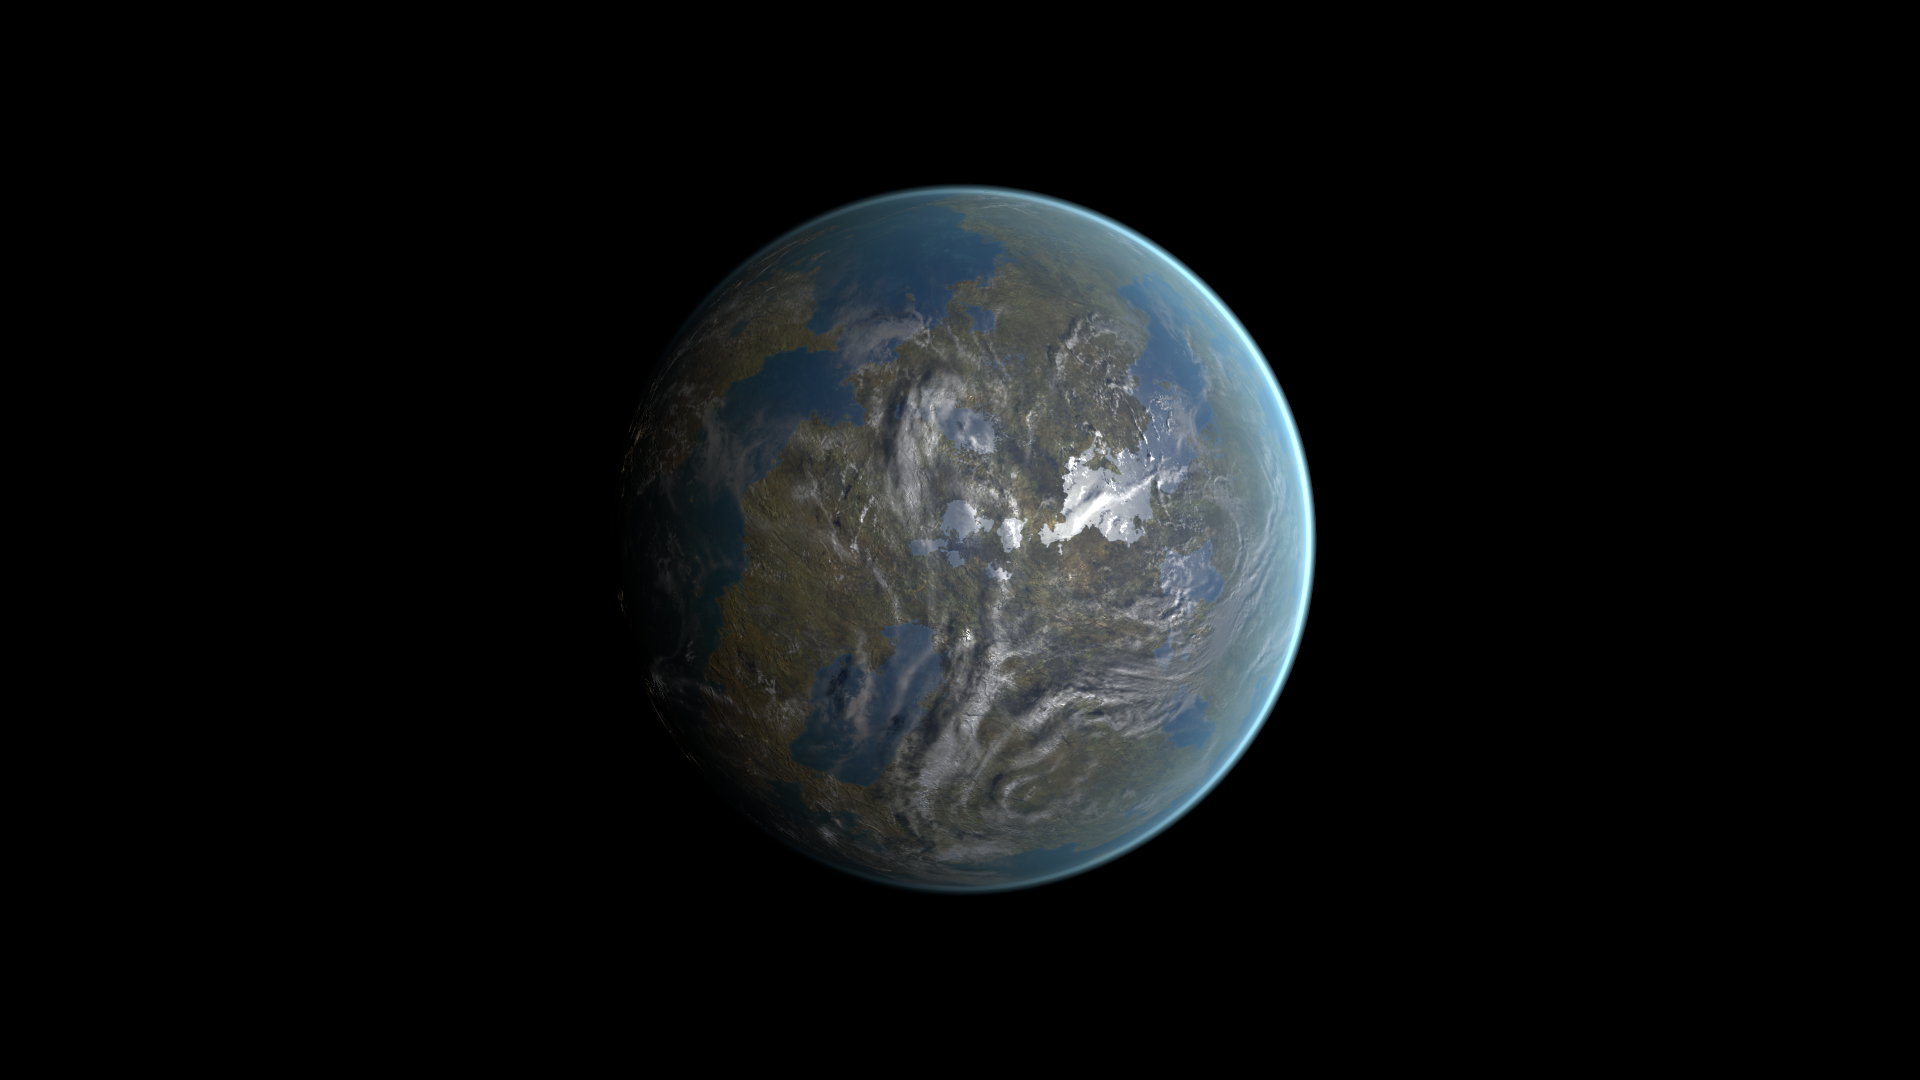
Visual target for the supplied terrestrial look. The exact view depends on your camera, lighting and environment reflections; this is not a screenshot of the steps above.
4. Find the surface and atmosphere materials
Section titled “4. Find the surface and atmosphere materials”- Expand the prefab in the Hierarchy and select its renderers.
- In each Mesh Renderer > Materials section, click the assigned material and read its Shader field.
- Find the surface using FORGE3D/Planets HD/Terrestrial. Its starting material is
Assets/FORGE3D/Planets/Terrestrial/Materials/Planet_Terrestrial_01.mat. - Find the separate shells using FORGE3D/Planets/Atmosphere. Their materials have names such as
Terrestrial_Atmopshere_01_A. Keep the original spelling when searching.
Do not assume that the root object holds every material. The shader name tells you whether you are editing the ground and clouds or an atmosphere shell.
5. Make a simple surface variation
Section titled “5. Make a simple surface variation”- In the Project window, duplicate
Planet_Terrestrial_01.matintoAssets/MyPlanets/Materials/and give it a clear name. - Assign the copy to the terrestrial surface renderer’s existing material slot.
- On the copy, change Clouds Output from 0.279 to 0 to reveal the surface. Cloud Shadows is independent; compare its original 0.085 with 0 as a separate adjustment.
- Restore Clouds Output to 0.279 if you want the original cloud contribution. Choose a new Water Deep Color to set the ocean palette; leave the masks and textures unchanged.
Result: this planet uses your material variation, while the original material remains available. For land colors and cloud motion, continue with Surface and clouds.
6. Match the atmosphere and save
Section titled “6. Match the atmosphere and save”- Duplicate the assigned atmosphere material into your own folder and assign the copy to the same shell renderer.
- Change Scattering Color slightly toward the ocean palette. Keep the other shell materials unchanged initially.
- Inspect Game View, rotate the Directional Light a little, and confirm that the atmospheric arc still fits your composition.
- Save the scene. To reuse the entire customized object, create a prefab variant in your own folder.
You now have an independently customized terrestrial planet. Use Practical workflows for lava, gas, storm and star looks, or the Terrestrial reference to find a specific setting.